| The Voyage of INTREPID | |
| "Access panels, Bulkhead 17" | |||
|
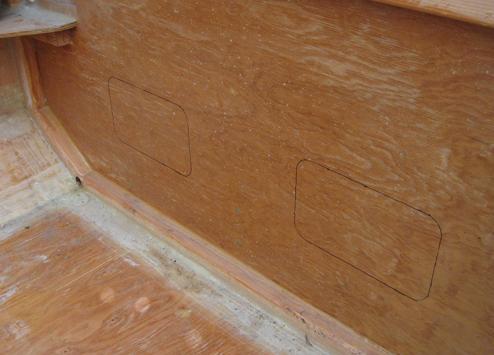
The original plans called for a six-inch by forty-inch opening at the bottom of Bulkhead 17. This was to allow proper ventilation to this stern area of the boat. So many boats die prematurely due to moisture, lack of ventilation, and subsequent dry rot. I had different ideas. I had already sealed this area of the boat with epoxy, so I wasn't too worried about rot. What I wanted to do was to exclude water from this area in the event that the cockpit got flooded at sea. I designed some waterproof access panels for this bulkhead to use while underway, which will be removed when the boat is put up for storage. The first step is to decide on the access hole size: too big and the panels could leak, too small and you won't be able to store anything behind the bulkhead with any size. In my case, I wanted to keep a spare prop and prop replacement tools back there.
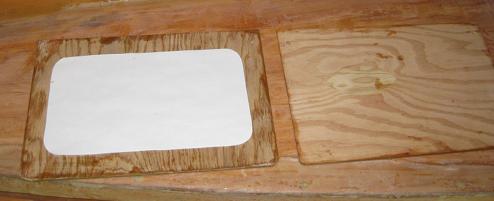
I used the template that I drew to place an outline on the bulkhead so that I would know what to cut out.
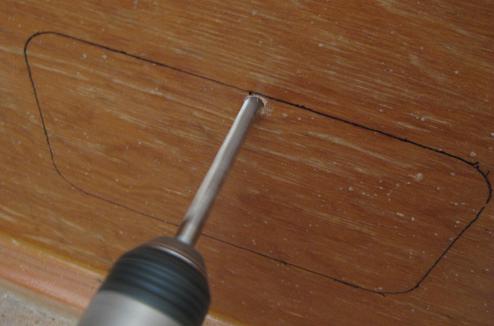
Drilling a hole large enough to allow a saber saw blade access.
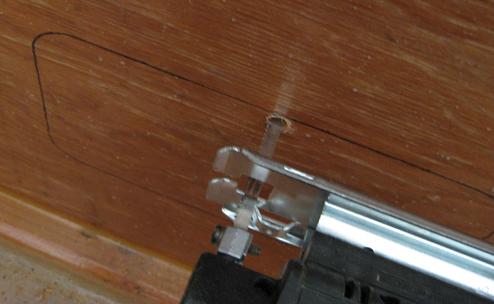
Beginning to cut out the access holes with a saber saw.
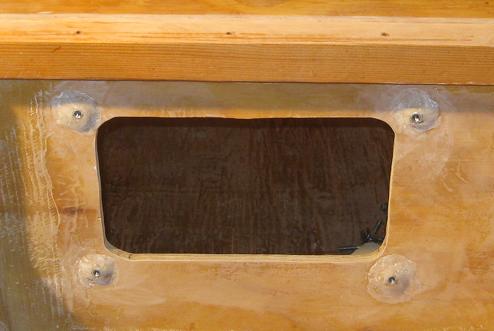
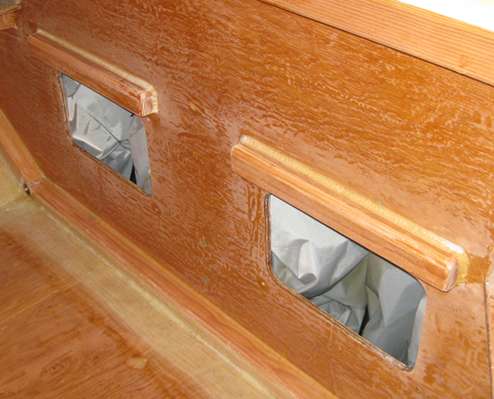
Two access holes are completed in Bulkhead 17. You can see the transom drainpipe that goes from the cockpit through the transom well and out the transom.
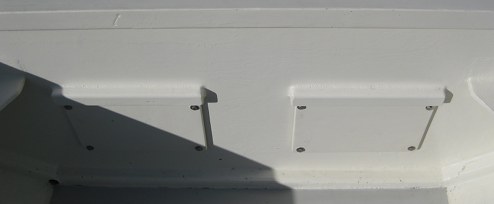
I used stainless bolts and nuts to attach the access panels. This is a picture looking from the transom forward. After drilling four holes, I set four nuts in a mixture of epoxy and wood flour against the inside of the bulkhead.
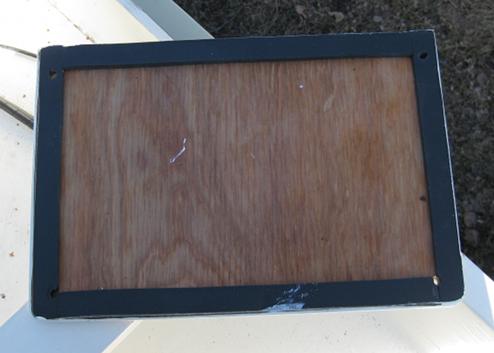
I cut the access panels about two inches larger than the access holes. Each corner has a hole for the bolts. The area around the template will have a foam gasket that will be compressed by the panel when it is tightened down.
The foam weather striping is installed on this panel, which had already been sealed with epoxy.
I made the rain deflectors that you see above each panel, so that water would not run down into the sealing gaskets.
Both Access panels bolted in place. They are perfectly positioned in that by placing a panel under the lip of a rain deflector, the holes to bolt up the panel are properly lined up.
|