| The Voyage of INTREPID | |
| "Attaching Bilge Panels - Inside" | |||
|
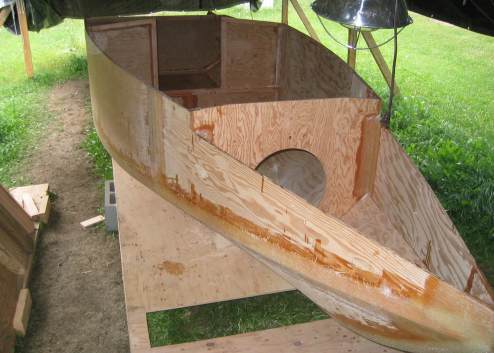
After the outside seams were filled and fiberglassed, the boat was turned upright to do the same to the inside bilge joints.
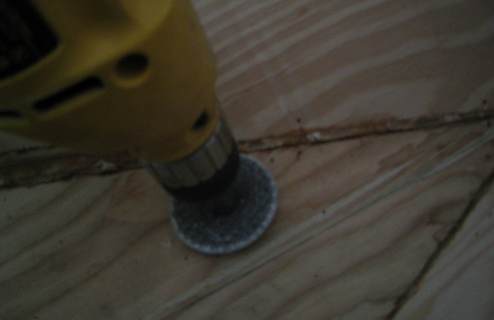
I really made sure that the outside seams were filled with epoxy putty before I fiberglassed over. Here you see some of the putty that squeezed through the joint to the other side being ground off. I had actually scraped off most of the putty "flashing" when it was first applied.
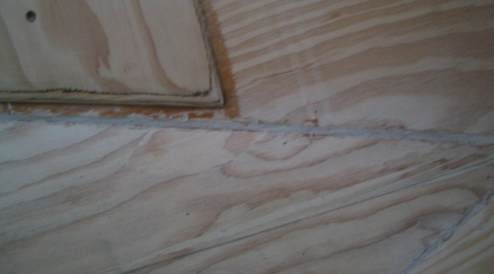
Ground smooth - easy.
The seams are now smooth and concave after an application of epoxy putty, ready to receive a layer or two of fiberglass tape.
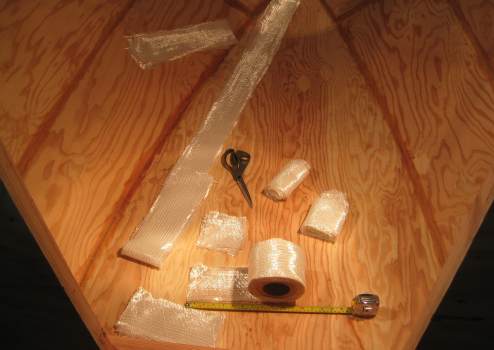
Fiberglass tape cut and laid at the ready to be applied.
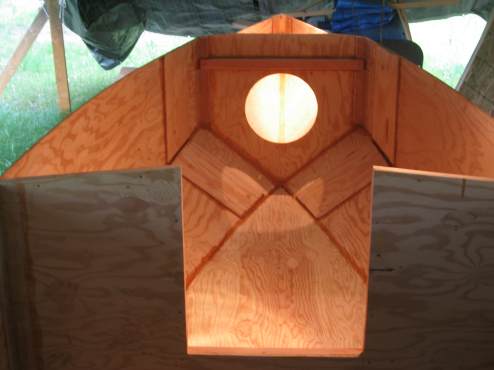
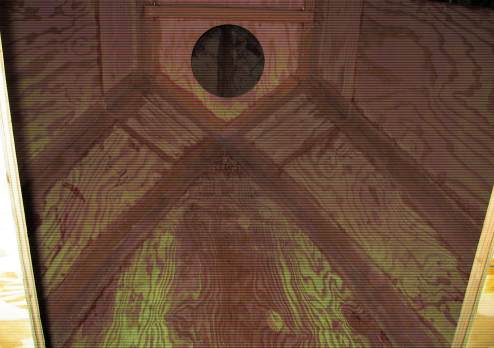
The bilge panels have been taped inside the cabin.
The other day, as I was about to drive home from work, I reached into the back seat area to grab a Dr. Pepper. Just as I pulled the can upwards, it slipped out of my
hand and fell upon a metal tool in the backseat foot well. It did not just get punctured--it split open right at the middle and dumped its contents in the foot well of
my car. I was not too bothered by this liquid incident as I have the deep "snow catcher" floor mats that are common in Alaska. But I was surprised by how easily and
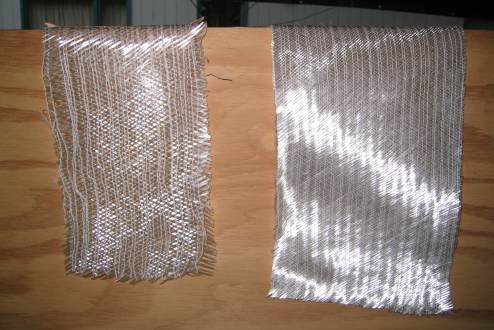
completely the can split open. I started to think that maybe the fiberglass that I was applying to my boat was perhaps too light for the job. I began to imagine my
boat hitting a big wave and splitting wide open just like the can. You see, the plans do not specify what weight fiberglass to use, and when I went to order some
more fiberglass tape, the salesman from the supply store suggested that I was using very light tape. This had me perplexed (pissed) as he was the one who suggested
that I use the 6-ounce weight when I first ordered it.
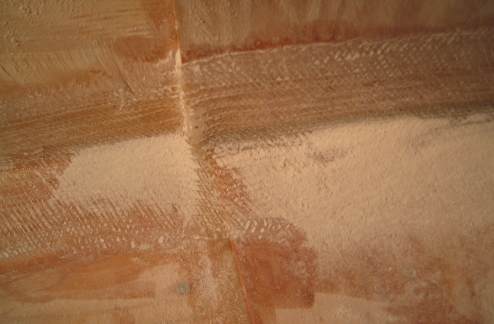
The edges of the inside seams were feathered into the boat. I then had to water-scrub them with the 3M 7447 abrasive pads to remove any blush present.
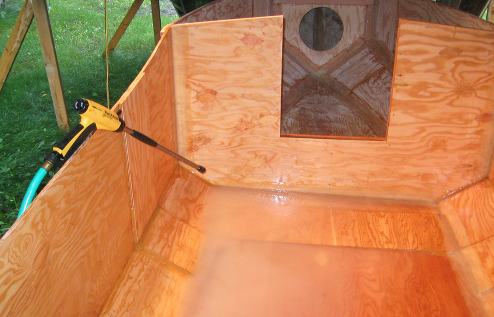
This is how we power wash all the sawdust out of the inside of the boat. This must be a good sign: the boat is holding water; probably means that it can keep it out as well.
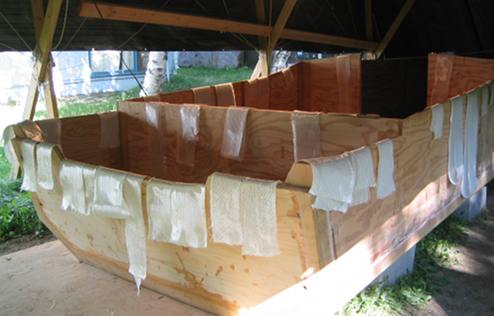
Getting ready to re-fiberglass most of the inside seams with 4-inch and 6-inch wide 12-ounce bidirectional fiberglass tape. It took two nights to get through it all. The next step was to flip the boat back over and fiberglass the outside seams again with the heavier tape.
|