| The Voyage of INTREPID | |
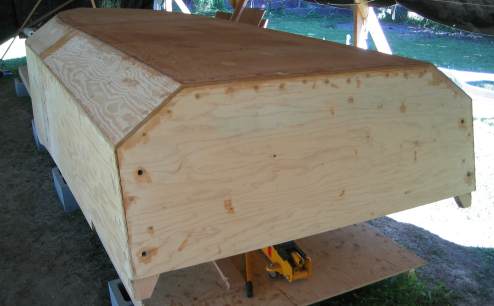
| "Attaching Bilge Panels - Outside" | |||
|
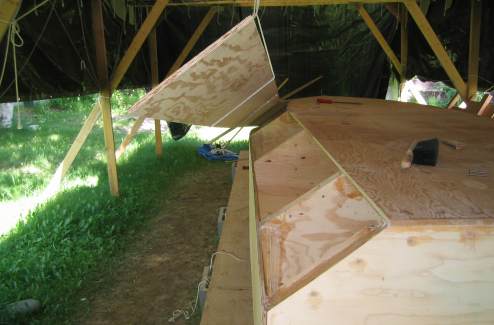
The front third of each bilge panel is firmly secured in position with wire ties and threaded rod. The rear two thirds appear to lay flat as screwed into the bulkheads with no additional fastening. I now had to remove the screws holding the bilges so that I could apply epoxy. I put my overhead crane to work again.
The first step was to put a light coat of straight epoxy on the bulkheads' bilge frame landings, the transom, as well as on the opposite mating surfaces of the bilge panels themselves. Next, a liberal coating of epoxy slightly thickened with wood flour was applied to just the boat-side mating surfaces. Last, epoxy wood putty was applied at the transom bilge frame section to fill in the dips in that area.
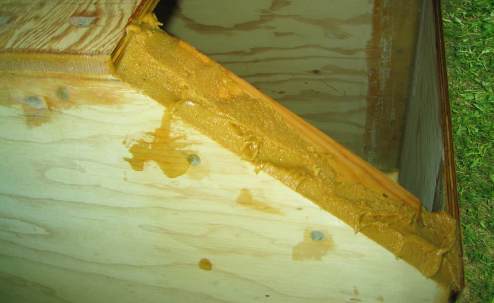
The bilge panel gets lowered into position and screwed down with stainless steel screws. All that excess oozing out means that enough epoxy putty was put on this joint which should result in a good connection. I already have another location picked out on the boat for the excess epoxy, so nothing goes to waste.
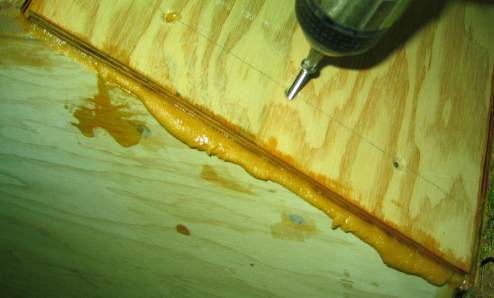
Another batch of epoxy putty is mixed up and applied to the seams between the bilge panels and the bottom, and the bilge panels and the sides. You don't have to make a perfect bead here; too much is better than too little. But just enough is best. It also pays in time saved by cleaning up excess epoxy overruns before they harden.
There is a quarter-inch gap between the starboard side and the bilge panel in one section at the inboard edge...but it appears that the epoxy putty has no trouble at all filling the gap and staying in place.
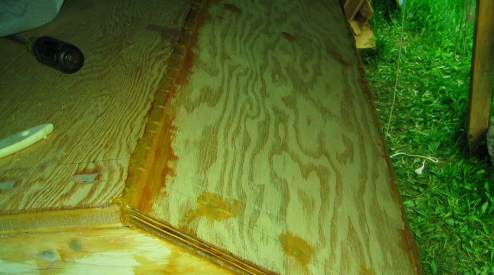
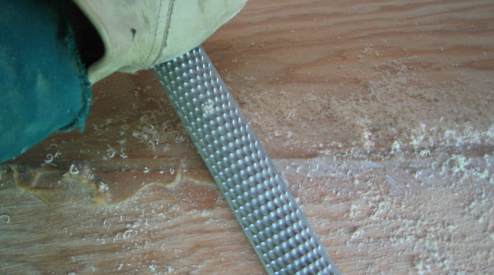
When everything firms up, break out the rasp and round over any high points.
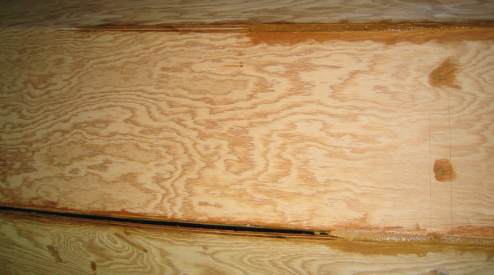
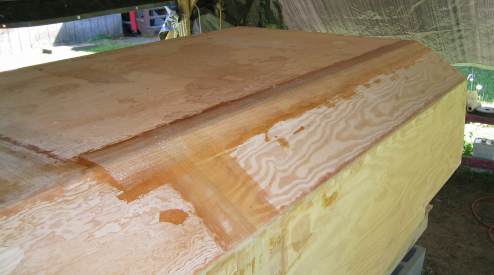
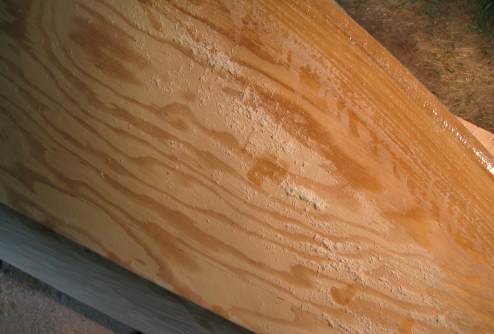
Bow seam filled with epoxy putty and faired.
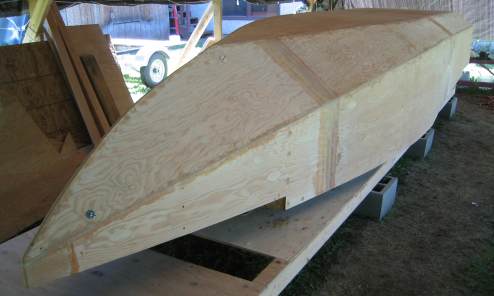
Seams filled all down the side. You will notice that I pulled out all of the tie wires. I will leave the threaded rod in until I get some fiberglass set up.
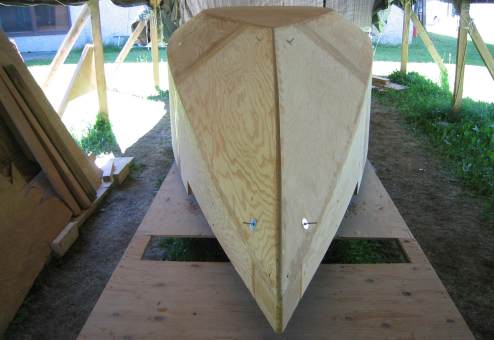
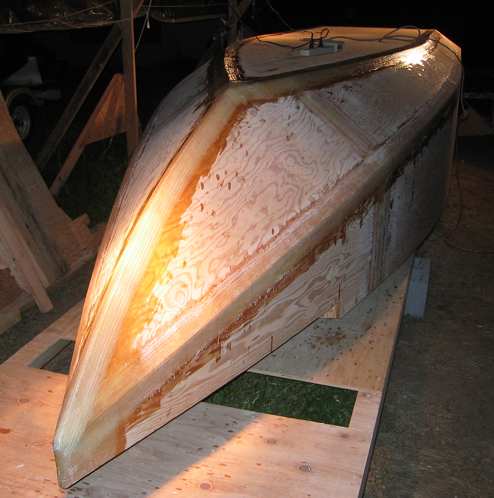
Rear view of filled seams.
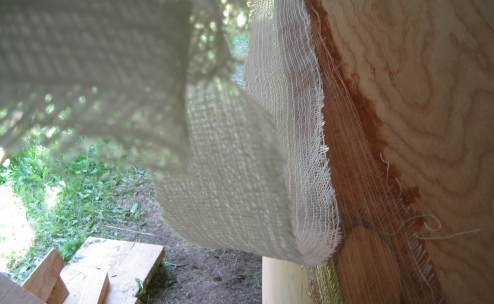
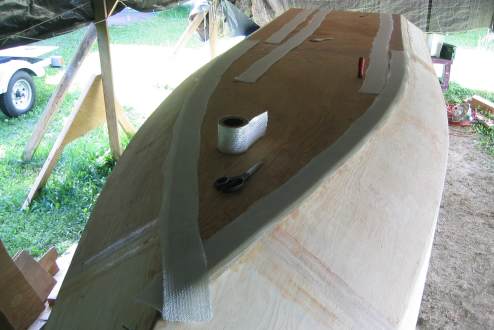
Working on applying fiberglass to the boat's seams. The first layer of 4-inch biaxial tape is offset from laying over the center of the seam by a quarter of an inch. Here I am applying the second layer, offset to the opposite side of the seam by a quarter of an inch. This means that the edges of each tape will be a half-inch away from each other, allowing for a more gradual transition from the tape to the plywood.
When a layer of tape is applied, you immediately paint over it with your epoxy mix. You then take a grooved metal roller to the tape. This flattens it into the hull and gets any trapped air out. The first section of seams is fiberglassed.
Laying out the fiberglass tape for the other seams
Taping the transom. I cut slits on the inside corner so that the fiberglass would lay flat.
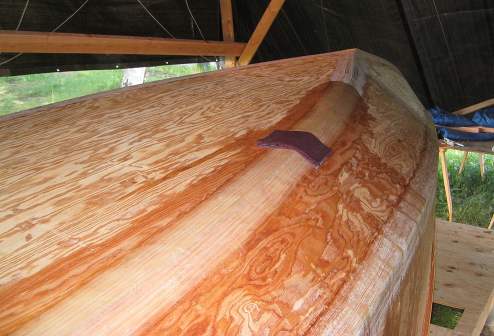
The curve of the bow is fiberglassed. The fiberglass's edges are feathered down to the wood.
Preparing the seams for more fiberglass.
Taped seam boat construction at its finest! I would later have a revelation that would cause me to revisit this area. Stay tuned.
|