| The Voyage of INTREPID | |
| "Attaching the Bottom" | |||
|
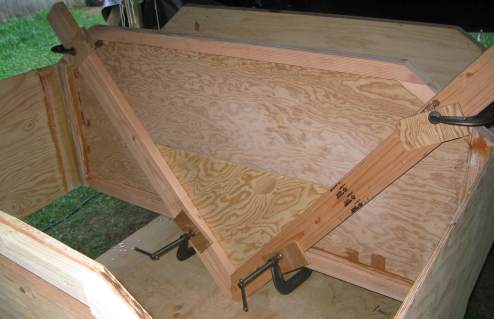
My determinations for the Dorado are that I will have to flip it four times and carry it out (from under the canopy) once. Good thing it is light. I attached the sides to the bulkheads while the boat was upright, and I will flip it over to attach the bottom and bilge panels. The back part on the boat is a good 6-inches lower than the front, so to make the boat rest level when I flip it, I clamped on a support means.
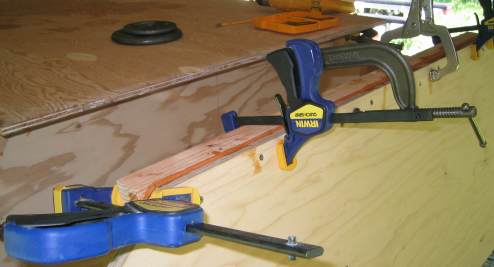
Bulkhead 11 slopes up from the sides to the center just over an inch. So that the structure at the center would not have to take all the weight of the boat when it gets flipped over, I clamped on a 2 by 4 to distribute the load.
Another 2 by 4 was clamped to Temporary form 8 only because my stabilization fixes to other bulkheads raised the boat by 1-inch.
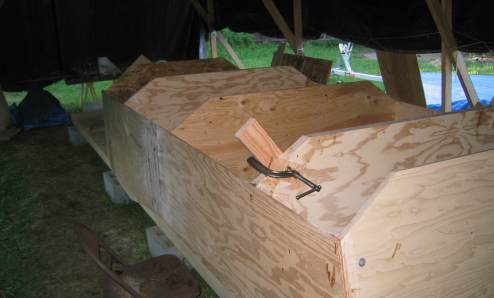
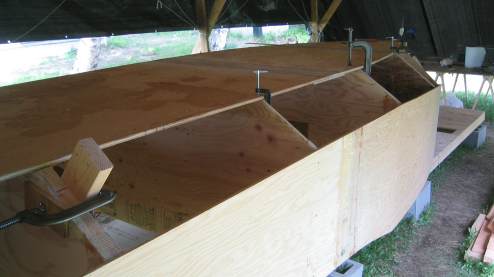
The boat is centered upside down on the building table at the ready to accept the bottom.
I saved framing the rest of the transom until now, partly because I did not know exactly how my transom redesign would affect the transom's alignment with the
bottom, and partly because I did not know exactly what I was doing. I had a plan, of course, but sometimes the build shapes up differently than you originally envision,
so you must adjust your plan as you go.
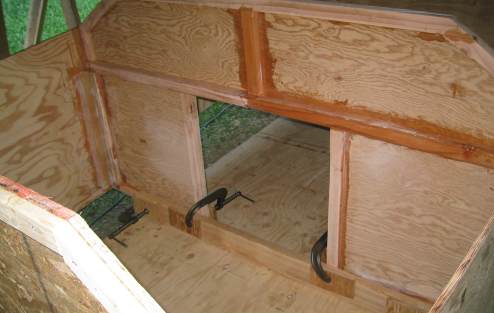
The transom bottom frame piece was glued, clamped, and screwed in place.
The bottom was again set forward of the back of the transom by 5 millimeters and clamped in place.
I clamped the rest of the bottom to the bulkheads.
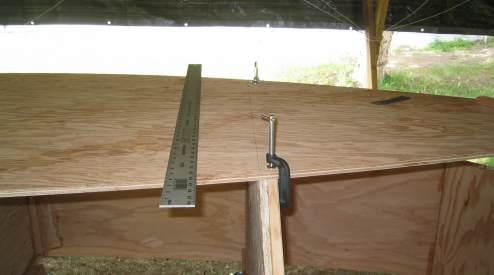
I needed to drill pilot holes for the screws that would attach the bottom. I used the straight edge and drew a reference line above each bulkhead.
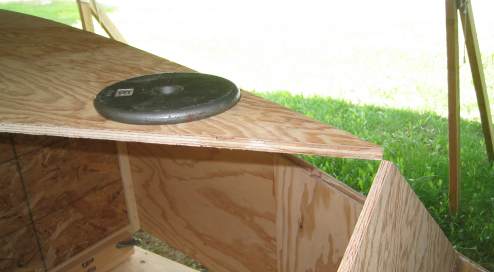
The point of the bottom just mates up with the point of Bulkhead 4 as per the plans -- but only with a 10-pound weight positioned as shown. Later, when I would use wire ties to connect the bilge panels between the sides and the bottom, I would have the opposite problem -- I could not get the bottom up high enough. But I found an easy fix; it is called "proper adjustment," but more on that later.
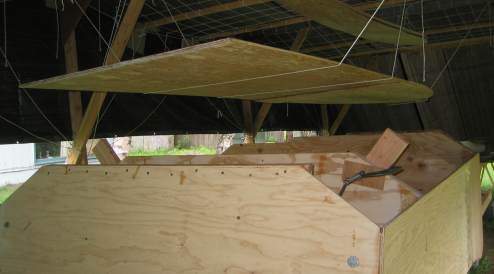
All the screws were taken out and the bottom was raised so that epoxy could be applied to the mating surfaces between the bottom and Bulkhead 4, Bulkhead 17, and the transom. You can just see the completed bilge panels hanging from the canopy just above the bottom.
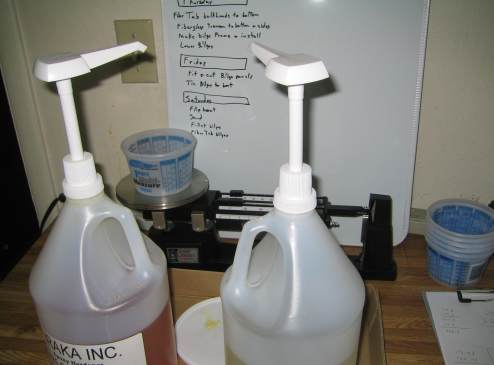
This is my epoxy mixing station. I do my calculations on the paper to the right. If you save your history of how your batches did for their intended applications, you can get pretty good about predicting how much epoxy you have to mix up for any future application.
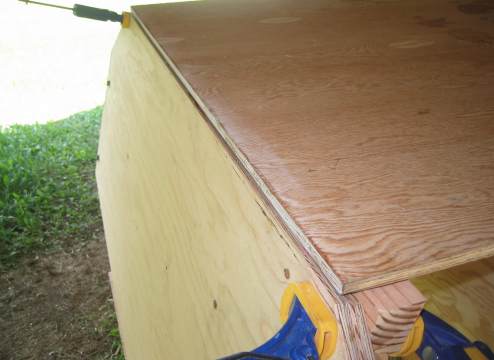
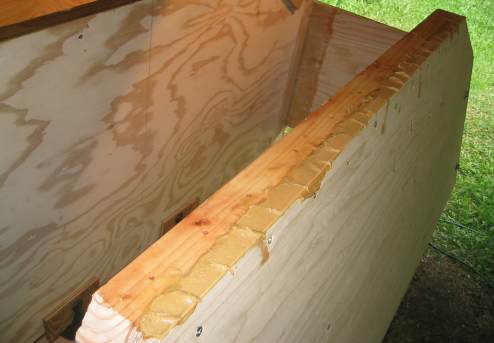
This is the transom just before the bottom got lowered and screwed down. The mating surfaces got epoxy that had some wood flour mixed in. The back part of the bottom of the transom also has wood putty applied. When the bottom gets lowered on to this, the excess wood putty will squeeze out leaving no voids, and a very strong connection. The bottom actually screws into the transom's frame.
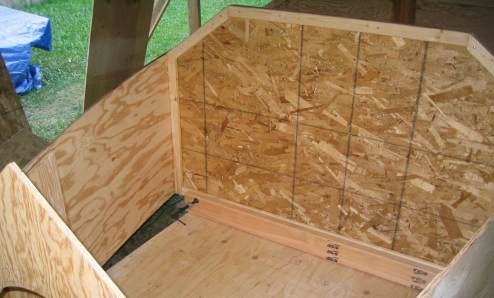
Though not seen in this section, each permanent bulkhead and the transom have been fiberglassed to both the bottom and the sides. And yes, it is a bear to fiberglass upside down. |