| The Voyage of INTREPID | |
| "Transom Revisited" | |||
|
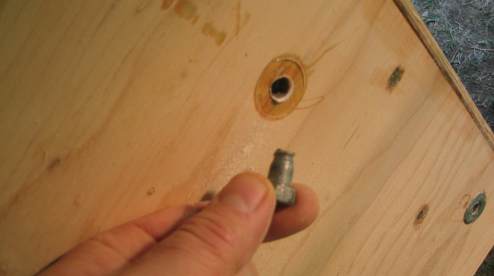
At some point I began to be concerned that the galvanized lag bolts that I put through the transom into the frame might have problems, as I also put some stainless
steel screws in close proximity. You know, the dissimilar metals thing. I decided to remove the galvanized bolts and replace them with all stainless. Here you can
see that the bolt heads snapped off when I tried to remove them. While they were embedded in epoxy when I first installed them, I was surprised (and concerned) by
how easily the heads snapped off. Now, I was glad to be replacing these bolts.
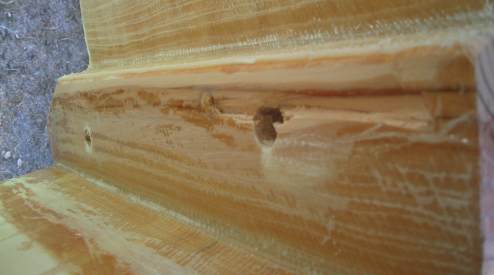
I tried using an "easy out," but all that did was pull some chunks of metal out of the bolt. That epoxy is some strong stuff. I then had to drill small holes into the bolt, chisel in some splits, and use an oversized drill to get some more chunks out. On one of the bolt holes, I decided to push through a last small piece of metal out the bolt hole through the other side of the frame with a punch. I got the piece of metal out, but managed to take a chunk of the frame with it. Nuts.
The damaged frame is repaired with epoxy putty.
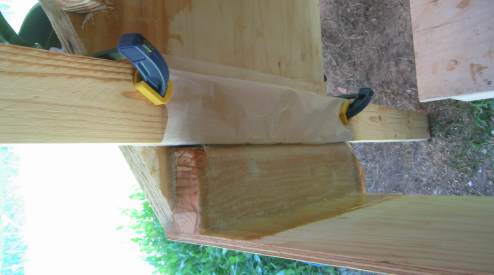
The frame then gets three layers of fiberglass tape from the flat surface next to the side to around the corner to the transom. Even though the corner of the frame was rounded, the fiberglass would not lay flat and kept pulling away from the frame. I wrapped a 2 by 4 with wax paper and clamped it against the offending fiberglass. The results were excellent.
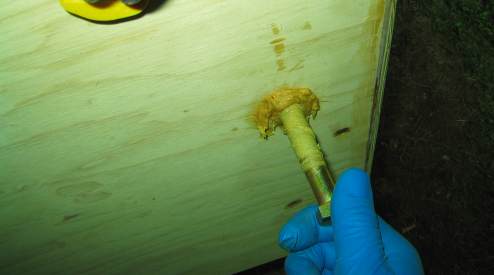
I had originally intended to replace the galvanized bolts with 9/16th-inch stainless bolts, but found that I had buggered up the holes in the frame enough to warrant up-sizing to 5/8ths-inch. Here I am using a generic 9/16ths-inch bolt to press epoxy putty into the bolt holes. The plan is to fill all of the voids in the holes with the putty, and then re-drill to the 5/8ths-inch size.
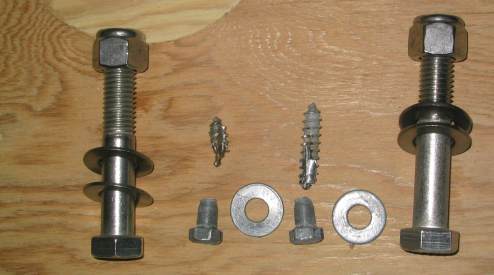
I picked up four 5/8ths-inch stainless steel bolts, eight washers, and four nuts with nylon inserts. You can see a substantial size difference between the new and what is left of the old.
This is just a simulation of an installed 5/8ths-inch bolt. I will need to use caulking of some sort in the hole to keep water out.
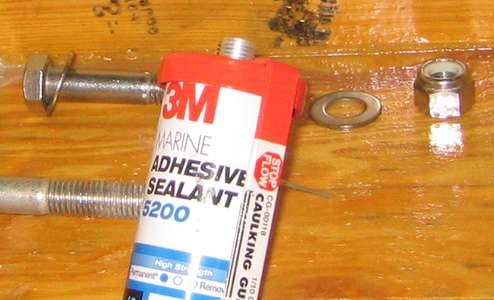
I have read some great stuff about 3M 5200 Marine Adhesive Sealant, so this is what I am going to use to seal around the bolts in the transom.
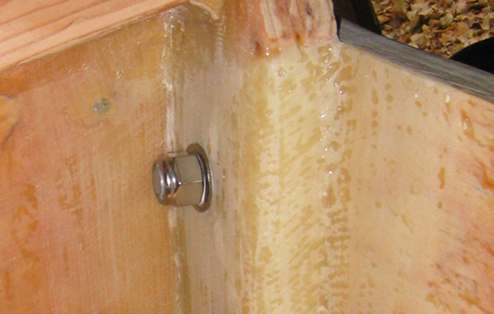
The holes were first treated to a coating of epoxy that was allowed to cure. I then started pumping in sealant into each hole with the bolt halfway inserted through the backside. The purpose of this was to create a sort of backpressure, making sure that the sealant was spread into every nook and cranny. I then coated the bolt with sealant and inserted it in the hole in the right direction, using a screwing motion.
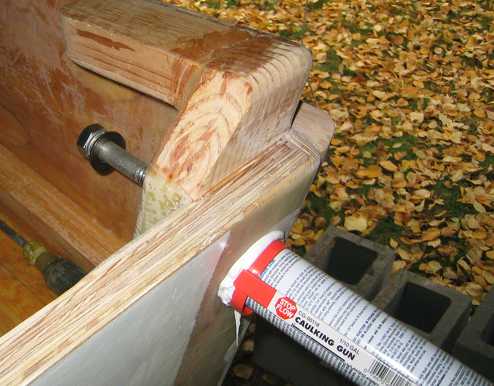
As the bolt went into the hole, excess sealant was forced out the other side. I saved the excess to put on the next bolt for the next hole. The 3M Sealant is very thick and vicious; I am pretty sure the bolts will be fully bedded in this stuff.
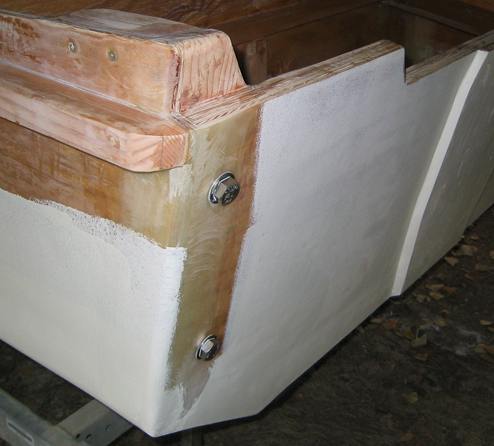
The bolts are set and tightened up in the transom. Sometimes I get funny comments from people who know about boats regarding my bolts. Yes, I know they are overkill. But if you only knew what I went through to get to this point....
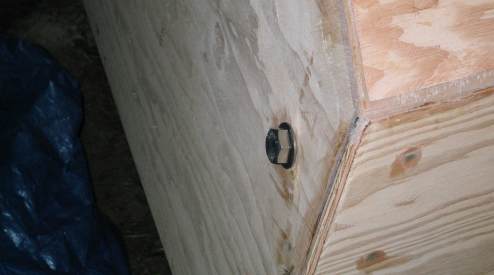
View from the transom well of a nut tightened on one of the massive bolts through the transom. See, now I am getting a complex.
|