| The Voyage of INTREPID | |
| "Bulkhead 4" | |||
|
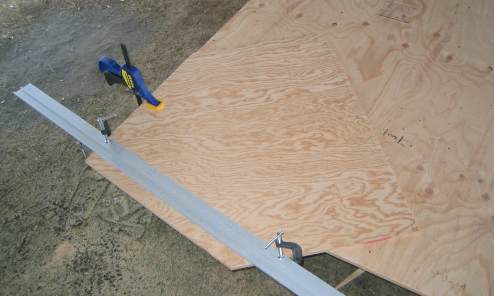
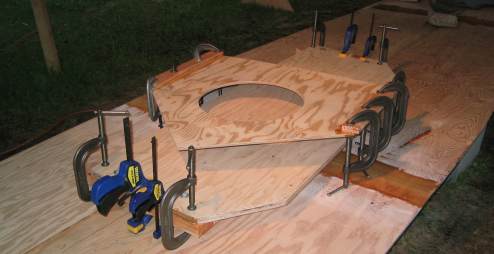
Bulkhead 4 is at the front of the cabin, about four feet back from the stem. This picture shows the building table being used as support as the piece is being cut out.
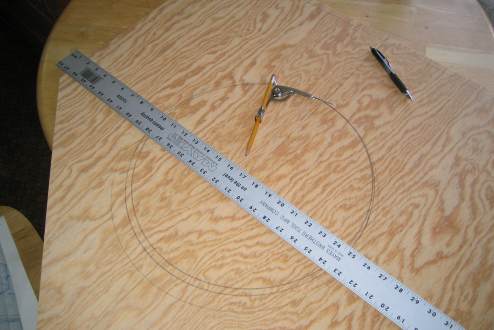
There is an access hole to be made in this bulkhead. The plans do not specify what size it is to be, but I have settled on 14 ½-inches. You can see that I used a simple compass to draw the circle to be cut out. I started drawing two larger sized circles, but felt that they did not leave enough "meat" on the bilge landings half.
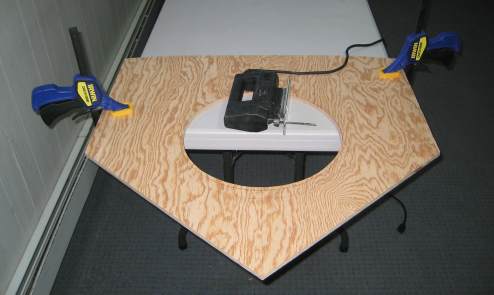
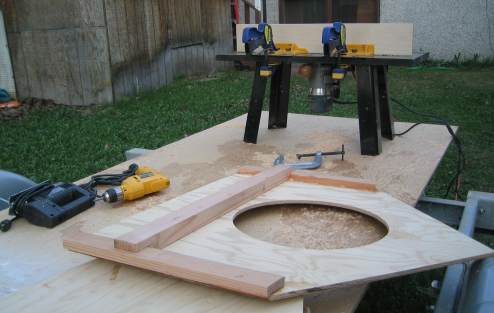
The first step in cutting out the access hole is to drill a hole inside of the circle you want cut out. This is to allow a saber saw blade to pass through.
Here is the hole cut out with a saber saw. Even my cheapo saw made quick work of it. I am thinking that I can make a steering wheel for the boat with a
couple of cut out discs laminated together.
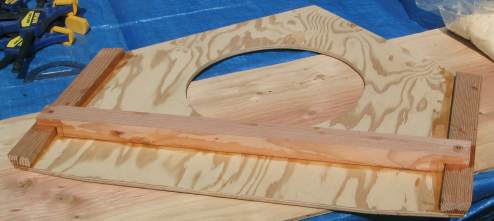
Side frames are cut ½-inch oversize width-wise to allow for bevels to be cut later. Frames are clamped while screw holes are pre drilled.
Three stainless #8 screws and epoxy will be securing each side frame to the bulkhead. The clamps keep everything together until the epoxy dries. You can see the transom underneath the bulkhead, also epoxied, framed, and clamped. Underneath all that are the sides of the boat, also recently butted and epoxied together. My plan is to cover all three units together with the heater to get a good cure. While it gets to 55º F in the daytime currently, it goes down to 35º F at night.
I used the router again to cut the half-laps in a framing piece. The plans call for a 3 1/2-inch by 3/4-inch crosspiece. I changed the dimensions a bit so that I could get the half-lap for strength, but retained just slightly over the 2.625-inches squared cross section of the original design. In other words, my piece of wood is deeper, but narrower.
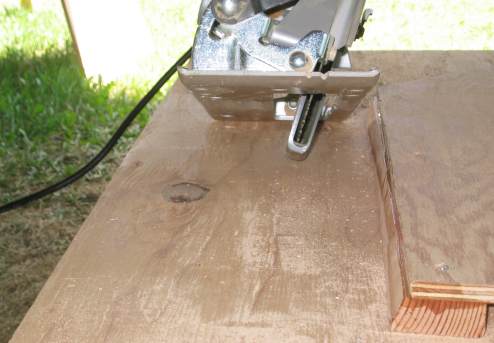
The Skill Mag 77 is capable of cutting up to 45º bevels by simply tilting the base plate. I set it to the 17º specified in the plans, and got a pretty good cut. You have to expose more of the saw blade and use a different reference guide on the saw's body when cutting bevels, but otherwise it is a straight forward operation, literally. Forget about cutting curved beveled cuts.
This is my second attempt to add sawdust to the epoxy resin. I kept adding incrementally until I got it to the thickness of a good brown gravy like you would want to see at thanksgiving. I was afraid that if I added too much, the epoxy would "kick off" and harden in less than two minutes like last time. It stayed in place initially, but then began to sag out of the sides of the lap joint. I don't know how I am ever going to make all of those epoxy fillets I need later.
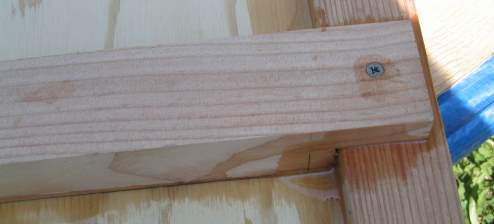
The cross member is screwed and glued. Again, two #8 screws this side on the laps, three screws coming in from the other side equally spaced in the middle.
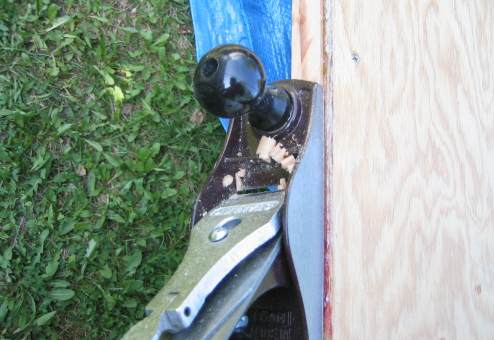
Planing the edge of Bulkhead 4 bevel to level.
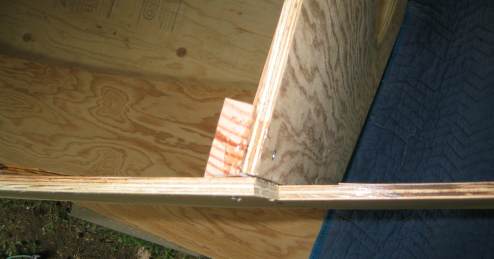
Checking the fit of Bulkhead 4's bevel to the side. This came out remarkably well. I guess the plans are relatively accurate on this point. Notice the orientation of the grain of the wood. This will give my screws great holding power when they come in from the side. The only thing better would be to have wood with growth rings closer together, except that I have noticed that wood of the same type with densely packed growth rings weighs significantly more.
|