| The Voyage of INTREPID | |
| "Cuddy Cabin Top" | |||
|
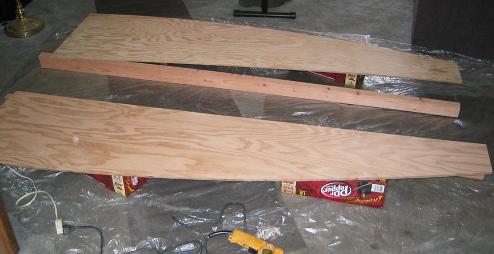
I began the cabin top by cutting two 2 by 4's to length. These will be roof beams, running either side of the walk-through. They have to be tapered from the rear forward. The also have to have a bevel cut in their base that matches the angle of the cabin roof line, so that the beams will remain vertical when finally attached.
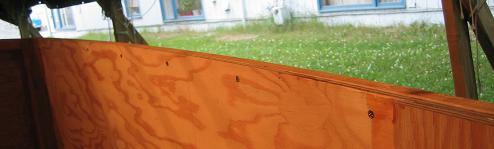
A strip of wood is added at the top of the cabin sides. The primary reason for these pieces are to provide a landing to which the top panels can be attached.
Epoxied on the outside, and stainless-screwed from the inside.
The port side is prepared in the same manner as the starboard. However, for the forthcoming roof panels to lay flat against the wood strips on the sides, these strips will have to be beveled to the same angle as bulkhead 4 in the foreground, and bulkhead 11 in the background.
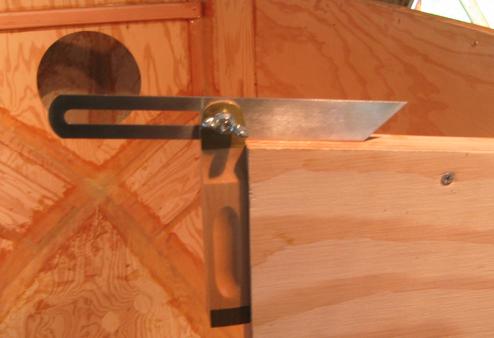
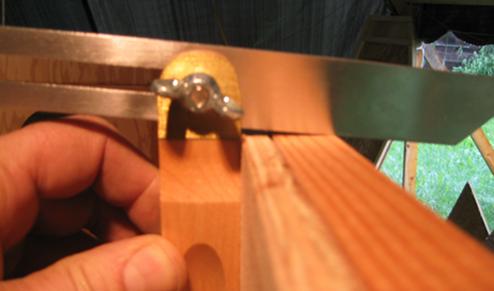
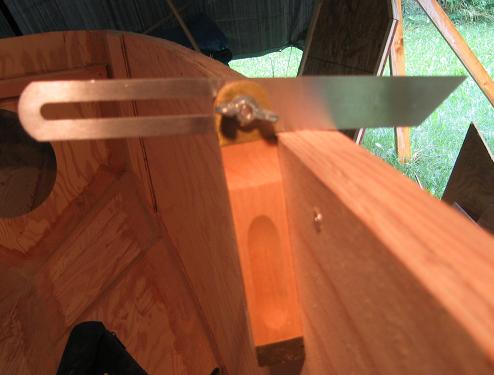
We get the angle of the roofline from bulkhead 11, which divides the cockpit from the cabin. I get the angle using a bevel square.
Transferring the bevel square over to the starboard cabin side, you can see the bevel that must be created.
Completed bevel. I could have used a rasp to make the bevel, or even a hand plane. However, I buzzed right through this job using a belt sander. If you need some wood removed in a hurry, this tool will do it. (There's an implied word of caution in there somewhere.)
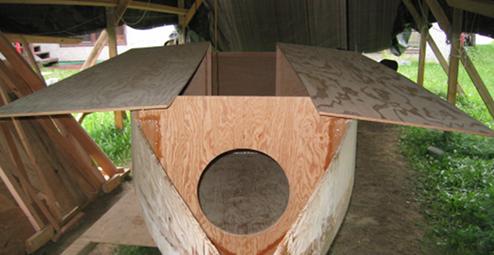
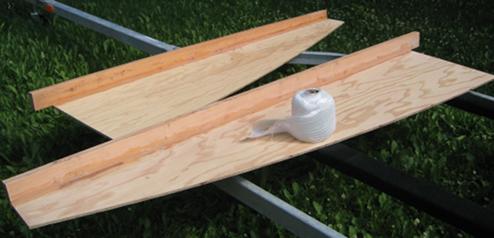
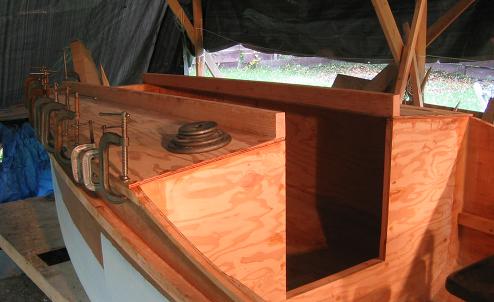
The cabin top panels are positioned over the cabin. You can see where the walk-through would be if I followed the plans.
The panels are clamped down, and their outboard shape is traced from below using the cabin sides as a guide.
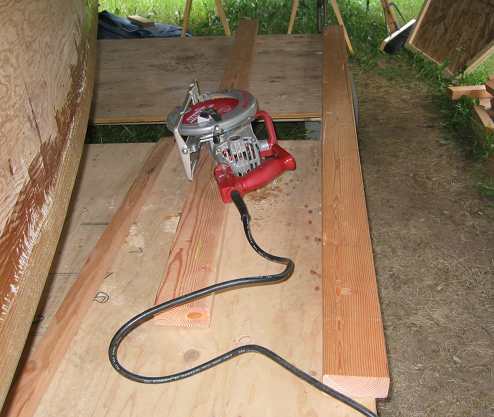
The cabin roof panels are cut to shape using a circular saw, and put in place on the cabin with the roof beams to get a rough check on fit.
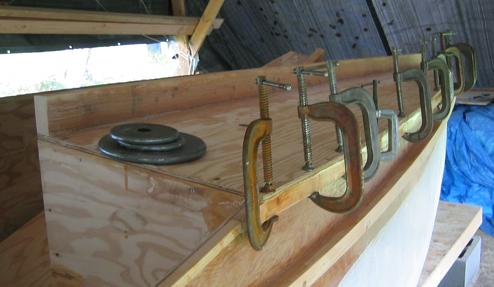
Roof beams being epoxied to cabin top panels in my living room. Screwed and glued, just like life sometimes!
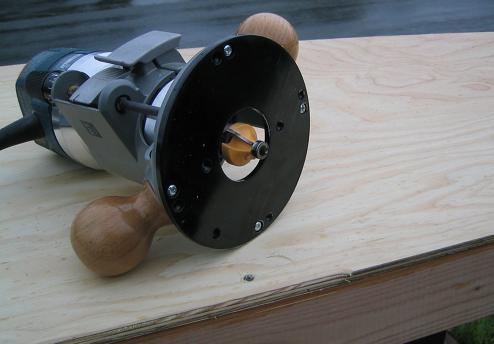
Using a router and a round-over bit, I removed the sharp edges from the underside of the cabin top panel assembly.
Probably entirely unnecessary, but I decided to fiberglass the roof beams to the cabin top panels.
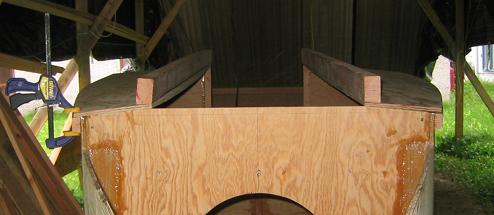
Checking the fit of the completed cabin top panel assembly.
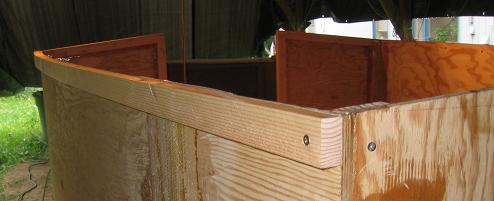
From the rear, it really looks like it is coming together.
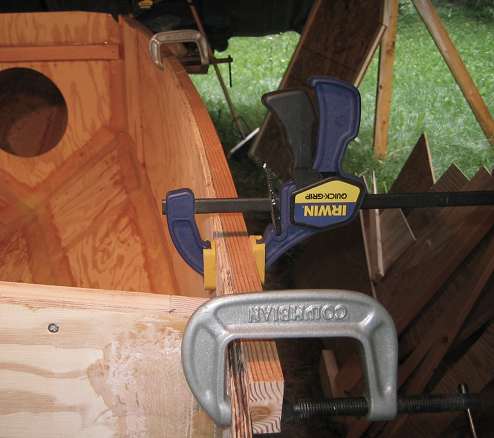
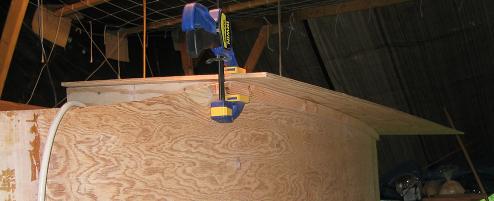
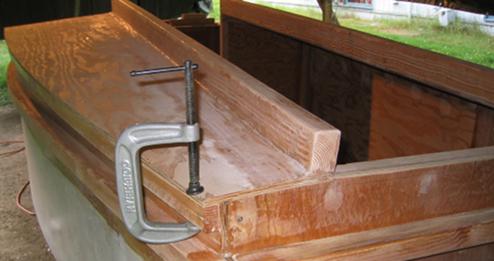
The starboard cabin top panel assembly is epoxied in place. I get to use my clamps again!
The port cabin top panel assembly is also epoxied in place.
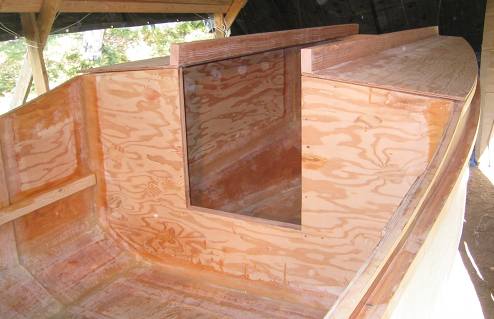
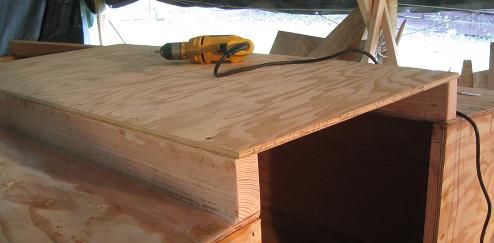
A bit more than half of the walk-through is permanently covered over with 3/8ths-inch plywood. I plan to add an escape/ventilation/anchor-handling hatch to the forward part of the walk-through.
A grab rail of sorts is fastened to the cabin top at the companionway entrance. It helps immensely with exiting the cabin and in keeping me steady while standing and piloting the boat in a seaway. I think it is in the way of a decent system for locking up the cabin while on land, however. See how "I could have caused my own demise with my companionway hatch design", coming up.
|