| The Voyage of INTREPID | |
| "Engine Mounting" | |||
|
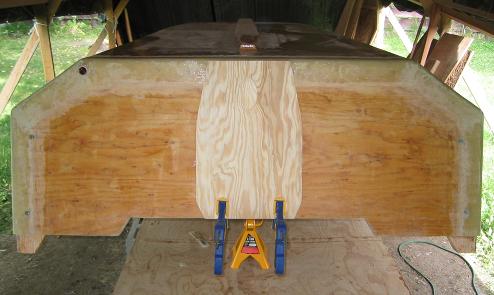
I had completed most of what needed to be done to the bottom half of the boat: outside seams sheathed in 12-ounce tape, transom and hull are fiber glassed, keel is put on. The final item I wanted to add was a motor board that will thicken and protect the transom where the motor sits.
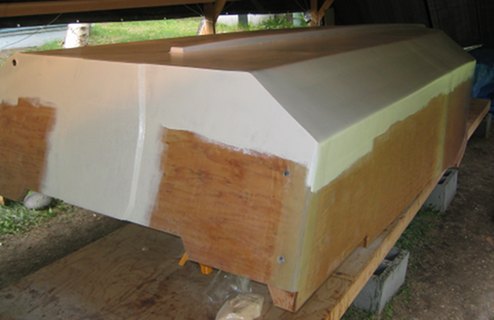
Now that the motor board is epoxy glued on and its edges are chamfered with epoxy paste, the bottom of the hull can be painted.
The paint is from Home Depot, and is their Behr Ultra exterior semi-gloss latex paint.
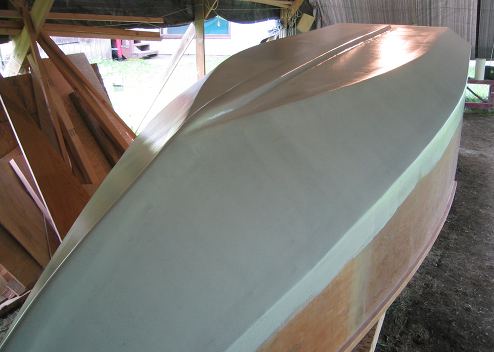
After my neighbors helped turn my boat back over, I saw no reason why I couldn't start getting ready for the outboard installation. I went to the Suzuki dealership where I had purchased my motor for some ideas on how to it. They let me borrow a metal template that you can clamp to your transom that shows where the holes need to be drilled to mount the motor. The inside set of four holes were for my motor size.
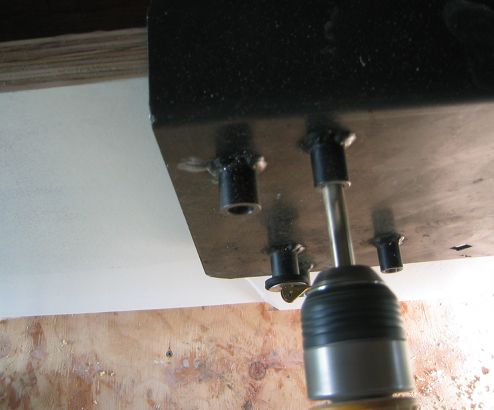
Drilling the mounting holes using the guides on the template.
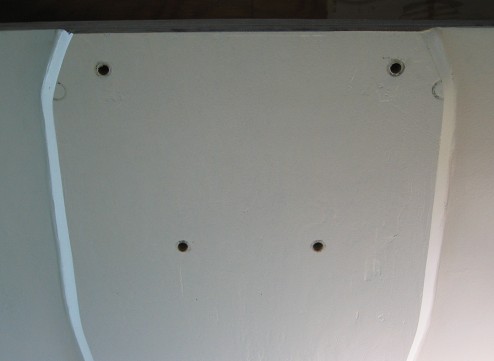
Perfectly aligned holes drilled through the motor board and transom. I gave them a light coat of epoxy resin on the inside to seal them from the environment.
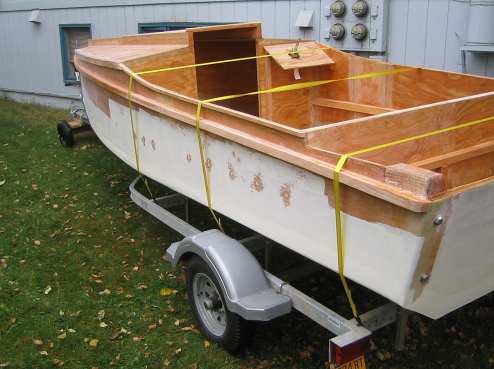
After Intrepid was placed on her trailer, she was secured for towing and brought out from under the building shelter. We are going to pick up her motor!
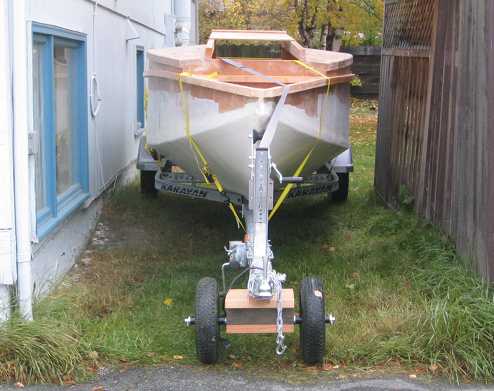
Pulling her out, or rather, pushing her out between the buildings. When the guide-on bunks are added to the trailer, the squeeze will be a bit tighter.
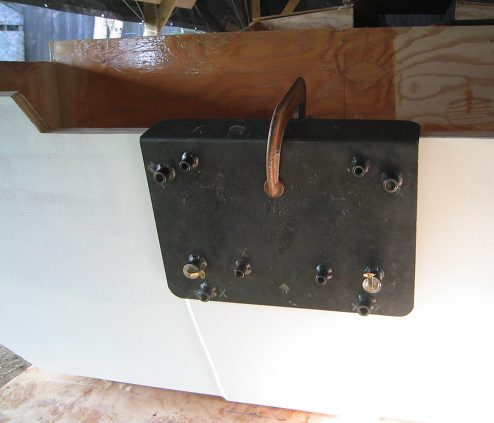
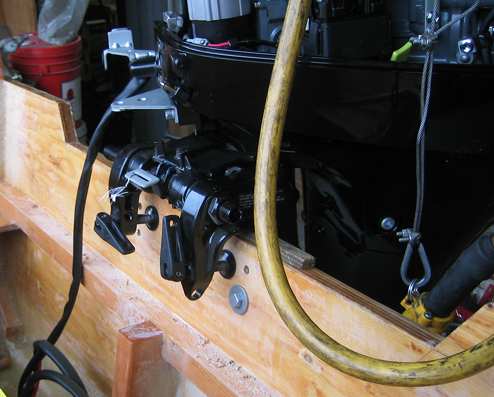
!*&%?*# !!! (universal symbol for frustration) At the Suzuki dealership, I found out that the template they gave me was the wrong one. I now have four holes in my transom that don't need to be there, and four new ones that need to be drilled. To the dealership's credit, they brought my boat into their shop, hoisted the outboard up with their crane, and set the proper position and angle for the motor before drilling new mounting holes. They bolted the motor on with 10 mm bolts.
Perfect position! If you recall, the boat's keel was tapered from one and a half inch thick down to just one inch at the stern. You can see that the top of the outboard's cavitation plate is sitting at one-inch below the bottom of the transom, as referenced to the keel.
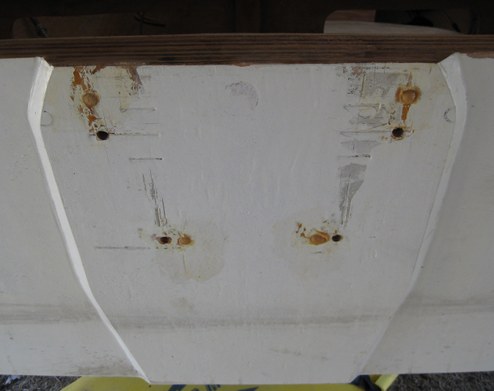
After sea trials, I removed the outboard and plugged the miss-drilled holes with a slurry of epoxy and wood flour. Once the epoxy hardens, I will sand everything smooth again and repaint. Good as new...with four plugged holes.
|