| The Voyage of INTREPID | |
| "Fiberglassing the Hull" | |||
|
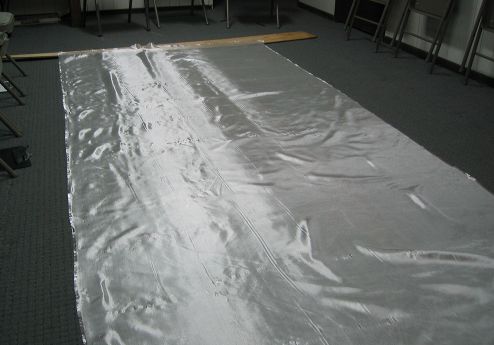
The fiberglass cloth came in a big, wide roll. I rolled it out on my conference room floor to see how I would use it on the boat.
I decided to cover the boat in sections. You will find that my first attempt did not go too well.
Something went terribly wrong with my epoxy mix as I was approaching 2/3rds saturation of the section of cloth on the back part of the hull. The mix rapidly got super hot, and began smoking and spattering. Even the epoxy already down on the boat was converting. Thinking quickly, I ripped all of the partially saturated cloth from the boat. The cloth ripped in numerous sections as I attempted to pull it off. At the end of the day, I was able to sand down any high spots left behind from stuck cloth fragments. This is what I think happened: I had mixed a larger than normal batch of epoxy to allow for the large amount of cloth that was to be put down. It was a slightly warmer day than usual and I probably mixed the bigger batch for a longer period of time. I had kept the epoxy batch in its mixing container while I diligently applied it to the fiberglass cloth with a brush, followed by a spreader. The conditions were set for the "Perfect Storm" of epoxy mix failures. Because of the large amount of epoxy in the cup, combined with those other listed conditions, the epoxy kicked off before I was able to fully use it.
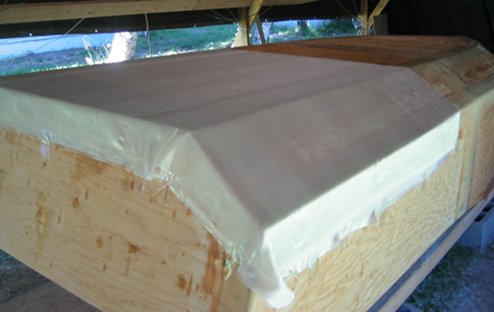
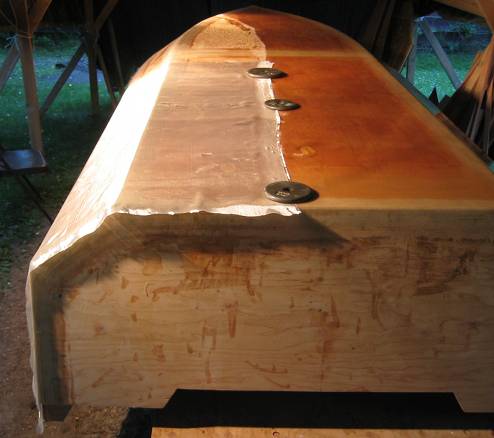
I came up with a plan for my next attempt. I would mix just as large a batch, but instead of keeping it concentrated in its mixing container, I would pour at least 80 percent out on top of the cloth on the hull in various locations before spreading with a plastic spreader. Spreading it out helps to keep it cool, so I would have a longer working time with it. The cloth was to be laid out in three sections. Here, the temporarily covered hull is being checked for fit. There is one long piece on the right side and two on the left. The transom will be done separately.
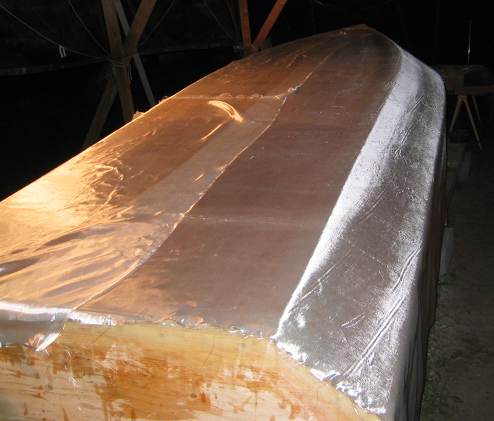
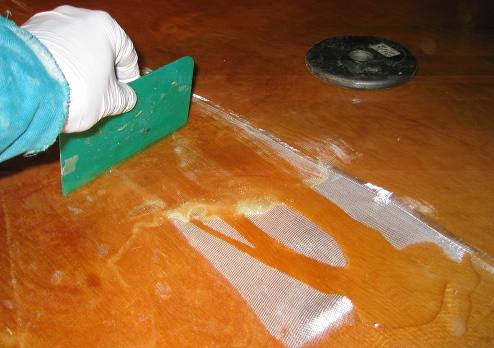
The cloth on the right side is being wetted out with epoxy.
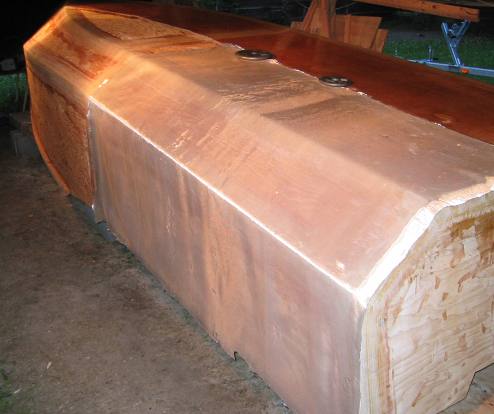
The fiberglass cloth was applied to the right side; it was time to start on the left side.
This view shows that the cloth goes all the way up to the gunwale.
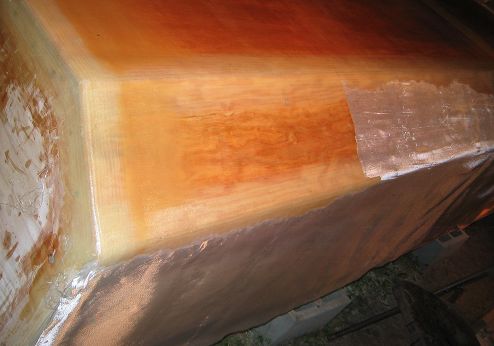
Moving the epoxy around with a spreading blade. The right side is completed; the left side has to look just as translucent as the right. All of those air bubbles have to be worked out, and the white areas of the cloth must become clear.
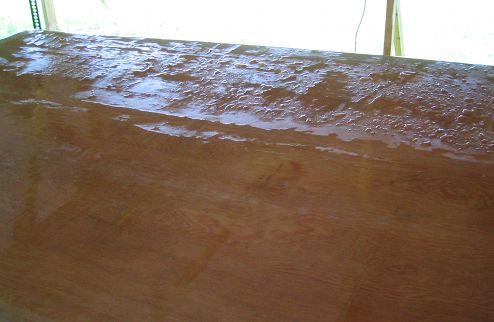
I lightly sanded the areas where the cloth had overlapped. The last step is to go over the entire hull with a 3M 7447 abrasive hand pad and water. As epoxy hardens, it can form an Amine blush, which often appears as a whitish, waxy film on top of the coating surface. It takes some elbow grease, but it is not hard to remove. If you don't remove it, paint or subsequent coats of epoxy will not stick. In this picture, where you see the water beading up is an area that has not been gone over with the pad. The bottom part of the hull has, and water just runs off without beading. Difficult areas may require an application of sandpaper.
|