| The Voyage of INTREPID | |
| "Floatation" | |||
|
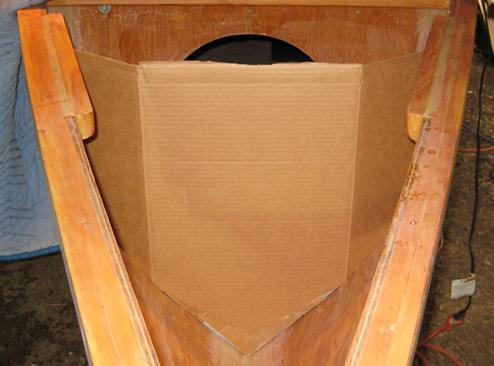
Wood is a naturally buoyant material, so even if the boat gets flooded, it ought to float. However, the designer felt that the weight of an outboard might be enough to overcome this buoyancy and recommended a certain amount of rigid foam be placed under the bow deck and especially under the transom well. Now I am not a big fan of rigid foam blocks, as they can absorb water (increasing weight) and become a surface harboring mildew (creating a smell). So I decided to go another route using spray-in insulation foam, like what you can get in a can from Home Depot. The first step in the bow was to tape in a cardboard form to divide the space ahead of bulkhead 4 into the floatation area forward, and storage area next to the cabin.
I then covered the form with wax paper so that I could easily separate the form from the foam once it hardened.
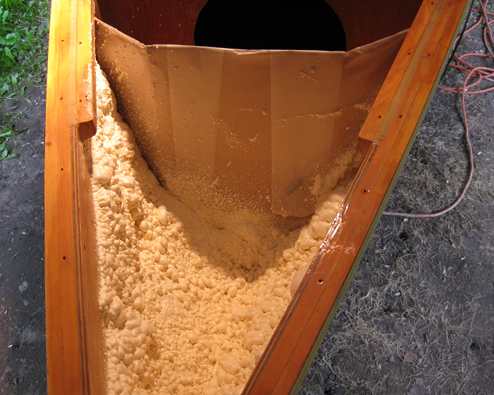
After I sprayed about three or four cans of foam into the bow, I realized that I was making a mistake. First, I thought the cans were going to be cheaper than the two-part foam that you have to mix. The compartment is only half full, so they won't be. Second, this foam heats up and puts off noxious fumes; what if the never go away? Third, this stuff is heavier than I would have thought. So...time to reverse course. I spent over three hours ripping this stuff out and sanding the inside of the boat smooth again.
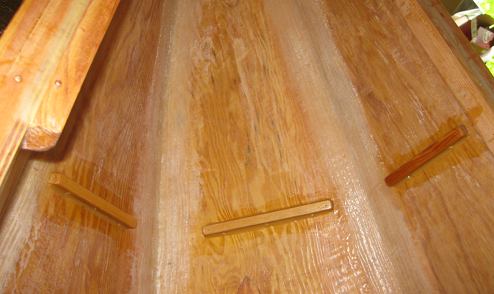
I came up with another idea. Many whitewater canoes and kayaks use floatation bags in their hulls to limit the amount of water that can come aboard, why couldn't I? I decided that I was going to fit my bow with these types of bags. The bow plate and the sides of the boat will keep the bags contained in their respective directions; I just needed to provide a barrier between the bags and the cabin. I epoxied and filleted four mounting blocks, one on each of the sides and bilge panels about a foot forward of bulkhead 4.
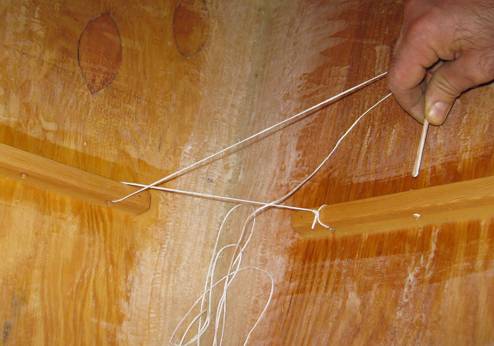
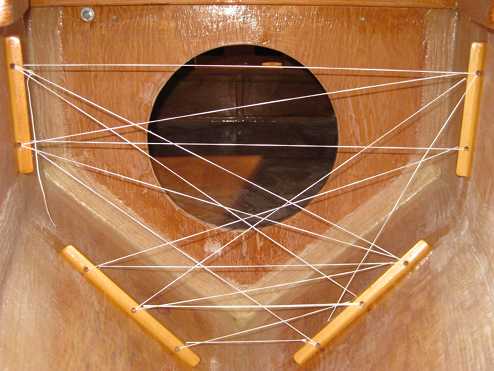
Each mounting block had either two of three holes in them, through which I planned to thread rope and make a barrier. I am using a piece of scrap wood as a fid to thread the rope through the holes.
This is the completed rope barrier.
Two of the five floatation bags that I purchase from NRS are positioned. The second is for redundancy in case one leaks. Notice that they are triangular in shape and fit the bow section perfectly. There are long fill-up hoses on each of the bags, so I can easily adjust the air in them from the cabin.
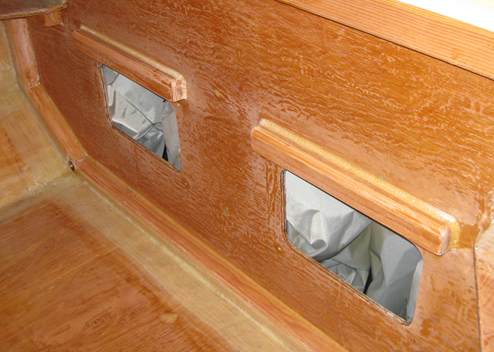
I put the other three bags, these were rectangular in shape, underneath the transom well deck. I inserted them through the access holes in bulkhead 17, and inflated then using their long inflation hoses. Since I only store my spare propeller and some tools back there, I could provide for more buoyancy material than the plans call for. Naturally due to the ability of air to expand when it warms up, the bags are not filled to capacity initially.
The great thing about this system of bags is that during winter storage, inspection, or repair, the bags can easily be removed. They should also last forever as they never live in the sunlight, and are not under stress from either high air pressures or people or objects being placed upon them. |