| The Voyage of INTREPID | |
| "Hatch" | |||
|
I permanently covered the back half of the cabin leaving the front half to be covered by a hatch. My first thoughts were to make a sliding hatch cover, but this seemed like it would be unduly complicated and prone to leaks. I also had this other thought that maybe I could design this pop up top, like on a camper that would simply collapse when I desired to be underway. And, I still had the idea that I wanted to be able to handle anchor lines up front, and maybe to be able to have room enough for two to cozily stand up together.
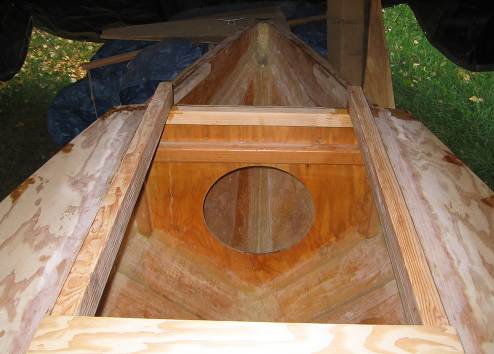
This is what happens when you think too much. I had the opening all blocked up to accept a pivoting hatch, but it was going to be one huge hatch that might get in the way of any windshield I might install. Plus, it was one big hole up front, and I don't like holes. Here, I am removing the epoxied-in blocking.
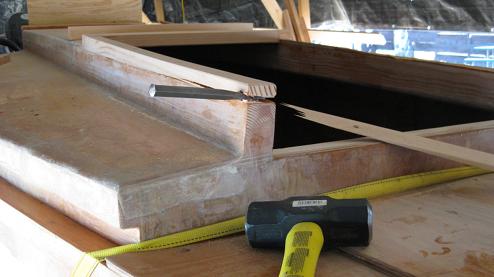
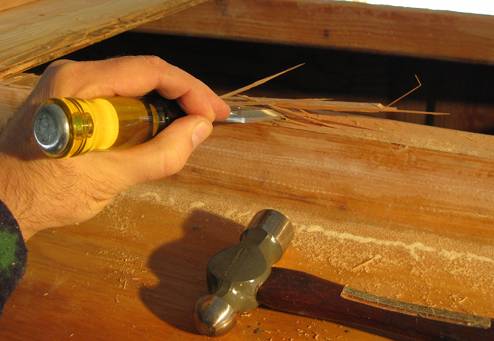
Almost done.
Good as new, or I should say, good as before!
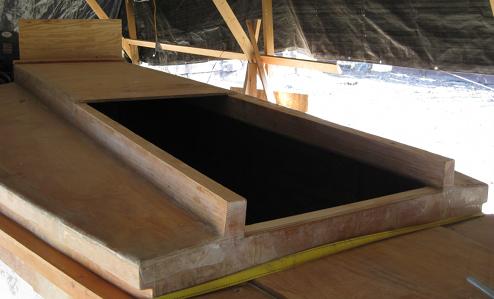
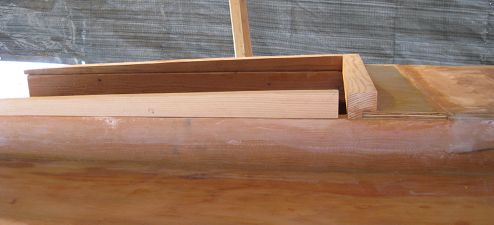
I added plywood to the cabin beams to close in the hole a bit. I am adding my blocking back in, the hatch will rest over and around these raised pieces of wood so that no rain water can come inside. You will notice that the front end of the blocking is tapered down. This is so the front end of the hatch will be lower than the back. I figure that the bow might rise a bit once I were to get on step, and the tapering would make sure the front end of the hatch isn't sticking high up in the air. See, I am thinking again.
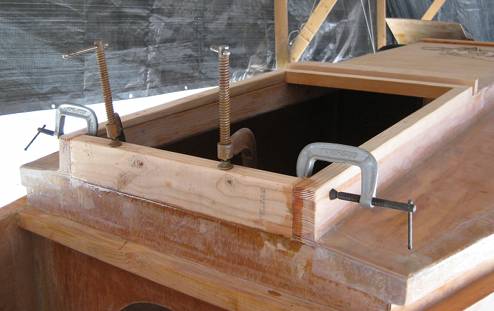
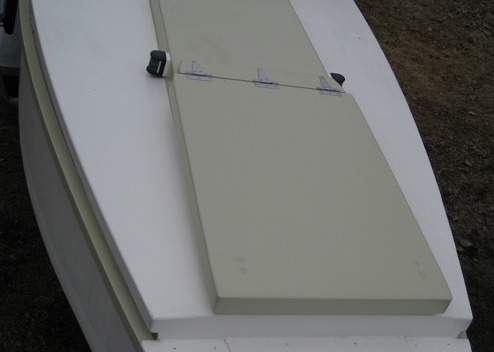
Blocking in between the cabin top beams. Two of the clamps prevent the block from moving back into the boat, the other two clamp it down while the epoxy hardens.
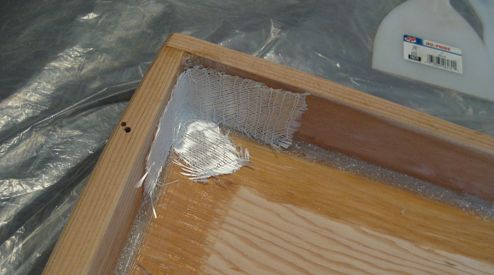
The actual hatch is being assembled. It is basically a squat three sided box without a bottom. It is being reinforced in the corners with fiberglass.
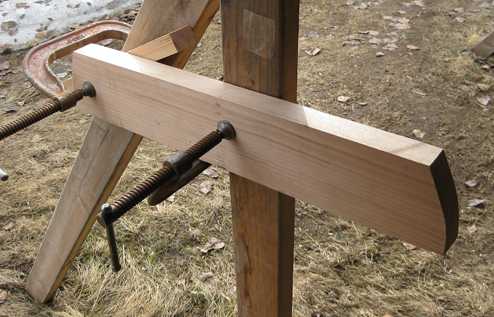
The rear of the hatch will be attached to this block of wood that I am presently shaping with a belt sander. I love all the high-tech tools I have at my disposal here.
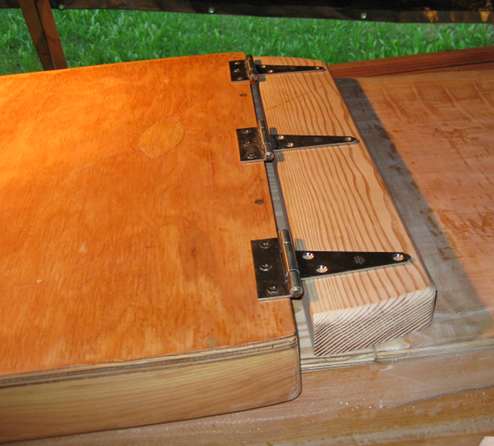
The hatch is attached to the pivot block with three Stanley Hardware stainless steel hinges. You might not be able to tell from this photo, but the block is tapered a bit in the rear. This allows the hatch to pivot all the way to the rear, supported by the hinges and only contacting the cabin top with the front of the hatch.
Notice the weather stripping around the hatch opening. Wind or water blown up under the hatch lid will be stopped here.
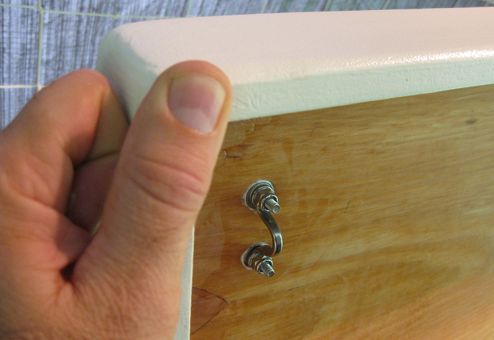
I was looking everywhere for some type of latch to use to keep the hatch secured at the front. I came up with this idea instead. I drilled two holes for each "latch", which I mounted with stainless bolts and nylocks.
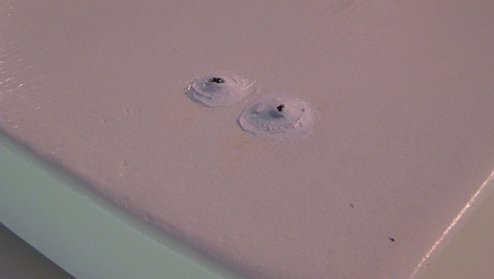
On top, the bolts were sealed with flexible caulking.
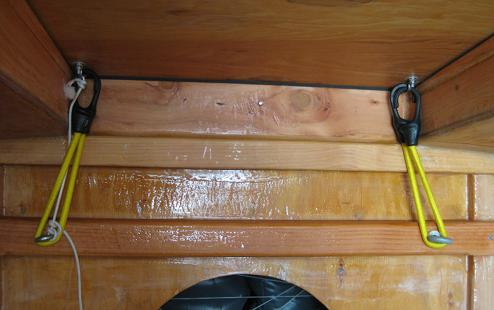
From below, the hatch was secured with dual bungee cords stretched over a pair of eyebolts. When I am towing, or really want to secure the hatch, I'll use rope as an additional securing means.
The completed hatch, installed. The green paint scheme went on my second season with the boat. I preferred it all white, except the white color reflected too much sunlight into my camcorder, playing havoc with its exposure settings.
|