| The Voyage of INTREPID | |
| "Joining Side and Bilge Thirds" | |||
|
As much as practicable, I have attempted to present Intrepid's building information in the order it was performed. However, I have kept some material in related
sections where the continuity may make the material more understandable. Please be aware of these occurrences if you plan to duplicate my efforts. Ultimately my
goal is to build a boat that I can use on Alaskan waters. Those experiences are what I am really looking forward to. I plan to share those as well, if I can ever
get this thing built. My latest "oops" coming up next.
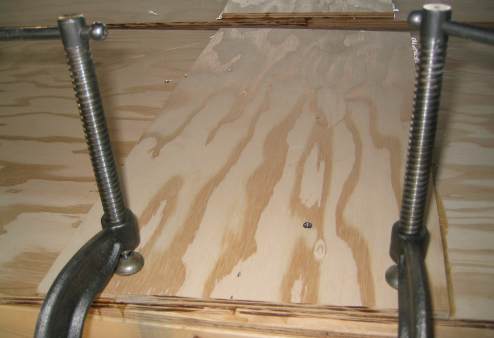
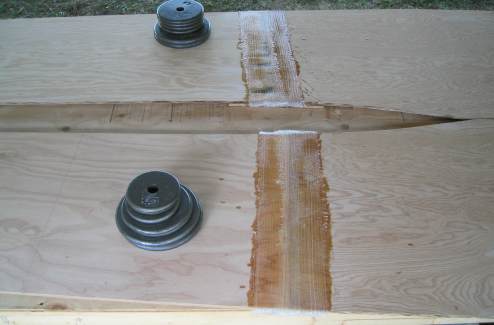
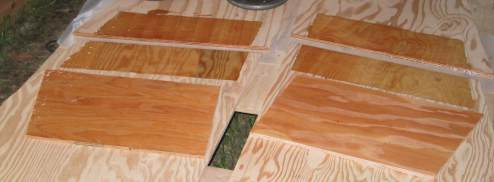
I used clamps to keep the butt pieces flat to the sides while the epoxy set up. Notice the temporary screw to the left of the right clamp. There is another screw on the other half of the side. I had to secure the butt piece with these screws because they would just squirm around, floating on epoxy when I used clamps alone. I found it best to place the screw holes in the area of the butt piece that will later be covered by fiberglass on the other side. Saves filling in the holes later.
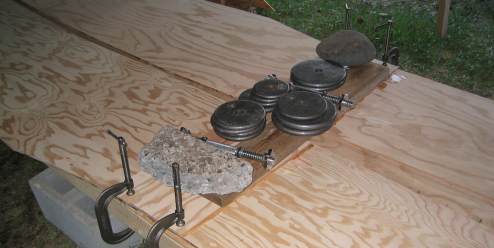
The butt pieces then received adequate weight to keep the pieces flat on the table without squeezing out too much epoxy.
This section was placed under cover with an active heat source overnight.
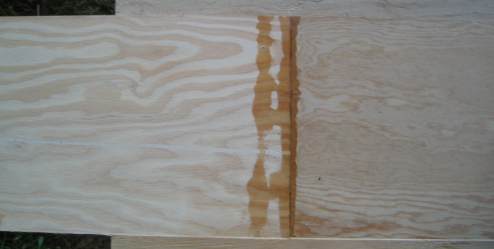
This time, the epoxy leaked and glued one of the sides to the table when I did not use wax paper as a barrier. I struggled to pull the plywood free for about ten long minutes. I was afraid that I would break the butt joint by pulling and banging on the side. It finally came free, but left part of one of the side plywood's plies stuck to the building table.
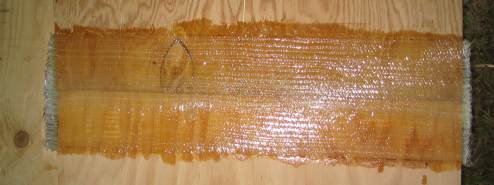
Opposite side of butt joint received two overlapping sections of fiberglass tape bedded in epoxy.
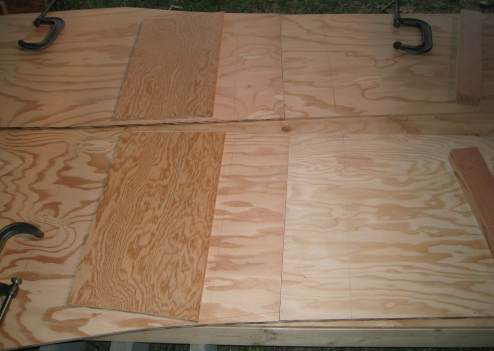
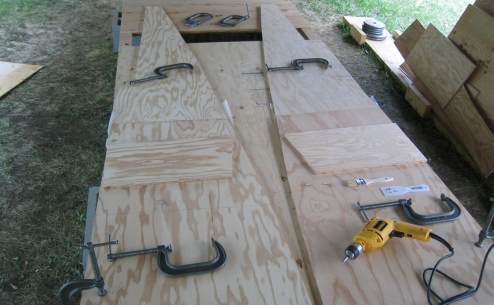
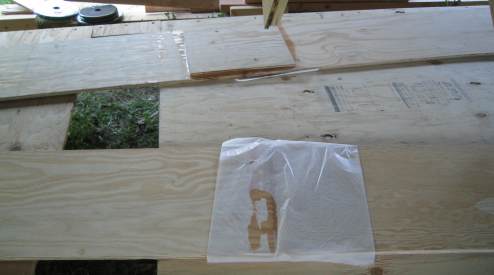
Plywood butt pieces are at the ready for joining the bow third of the sides. I will attempt to use the wax paper as a barrier again. Notice that the wax paper is only as wide as the joint it is protecting. Also 2/3rds of the paper is under one half the bow section, and 1/3rd is under the forward half. After applying epoxy to both halves as well as the butt pieces, the bow half was lifted and moved back about two-inches from the other half so that epoxy could be placed in the joint. The bow half was again lifted and placed within 1/3-inch of the rear section and slid forward. The wax paper did not bind in the middle this time. The section was set up with temporary screws, clamped, weighted, and then baked with perfect results.
The sides were turned over so that two pieces of fiberglass tape could be bedded in epoxy over the butt joint.
Heat was again added to both bow butts simultaneously.
My cheapo jigsaw gets pressed into duty again, this time by trimming the excess fiberglass "flash" overhanging the butt joints.
Sanding and feathering the edges of the fiberglass of one of a side's butt joints. Lots of dust -- wear a dust mask.
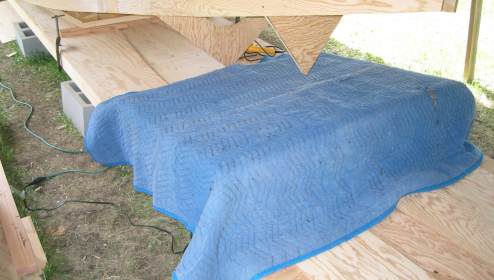
At one time, I was annoyed with how slowly I was progressing with the boat build. I set a deadline of when I wanted to have the sides mounted to the bulkheads by. I put on a major push and met the deadline. However, I then realized that I still needed the building table on which to assemble the bilge panels, except that now, there was a partially assembled boat on top of it. I ended up sliding the bilge panel thirds under the boat, and doing all of the epoxying at the west end of the table. This is why in this picture, the bow of the boat overhangs part of the bilge section that I had just joined and put under heat.
I flipped the bilge panels over. You can see the wax paper has successfully created a barrier between the bilge panel and the building table.
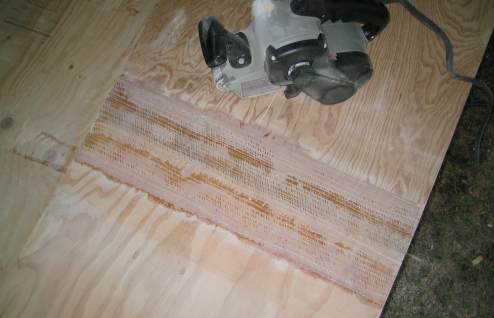
After peeling the wax paper off, I used my belt sander to prepare this side of the panel for fiberglass tape.
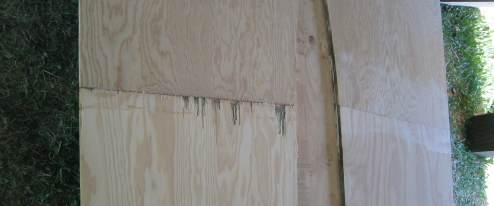
The last of the bilge thirds getting their plywood butt pieces epoxied. The usual fiberglass tape will be placed on the other side of the butt joint.
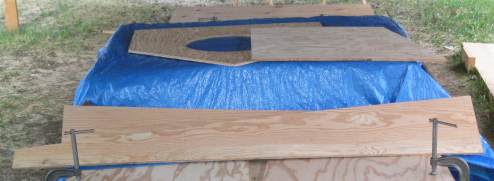
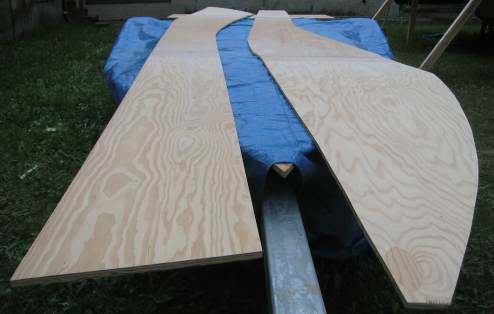
The completed bilges temporarily placed on the boat's trailer.
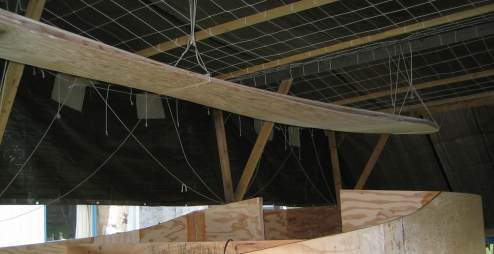
Both bilge sections hanging out of the way above a partially completed boat.
|