| The Voyage of INTREPID | |
| "Keel" | |||
|
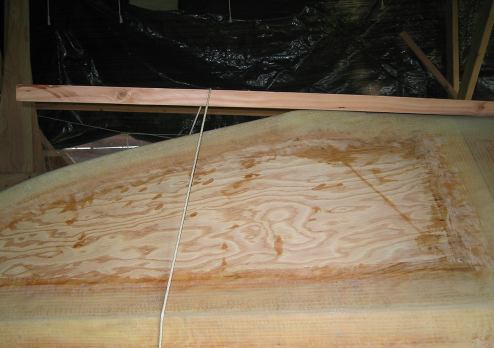
I believe the plans call for a 2 by 2 keel; I went with a 2 by 4 stick of Douglas fir. I set the keel 12-inches ahead of the stern. The common wisdom is that you don't set it right at the stern as it will interfere with the flow of water passing by the propeller.
I pulled the front part of the keel down to the bow so that I could size it properly. It will be cut back about an inch shy of the front tip of the bottom.
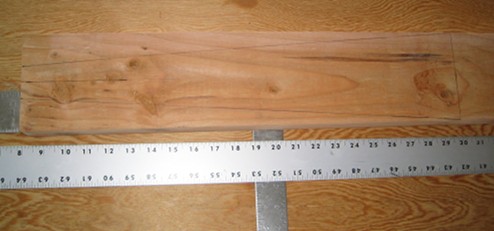
I used 22-inches to taper the keel down from 3 and 1/2 inches wide to 1-inch - about the width of the nose of the bow/ stem.
The keel is put in position and weighted down so that I can drill some pilot holes from the bottom up into the keel.
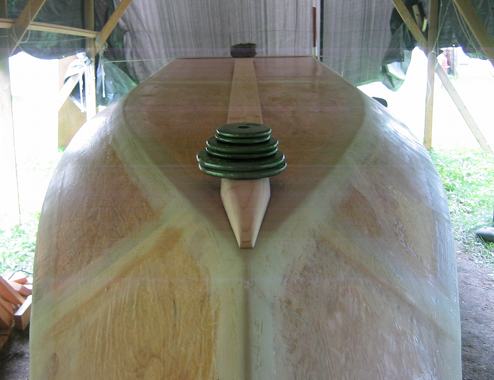
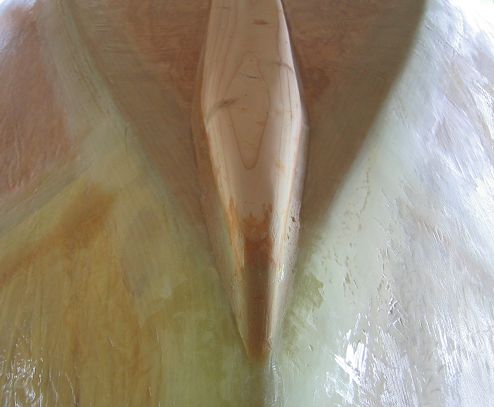
For the back end of the keel, the idea was to taper it down to 2-inches wide to meld with the water flow that would be heading towards the outboard's lower unit. That sanded squiggly mark you see the length of the hull is where I sanded smooth the fiberglass cloth sheathing where it intersects on the bottom of the hull. The white dots to the right of where I had sanded are drill holes through the hull and into the keel when it was centered on the hull. I am getting ready to epoxy the keel and screw it down to the bottom of the hull.
Just prior to putting epoxy glue on the keel, the pilot holes were filled with the stainless steel screws that would clamp down the keel. The trick is to get two to three screws fully seated with the keel perfectly aligned. Then you just go down the row of screws and, well...screw.
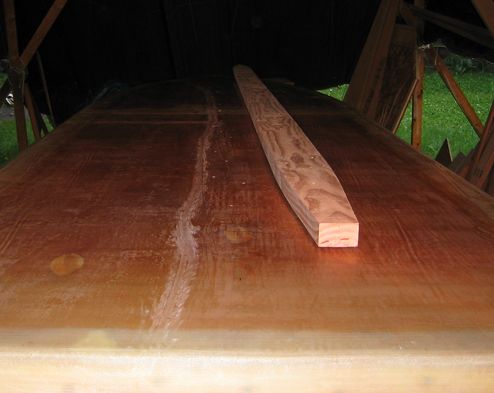
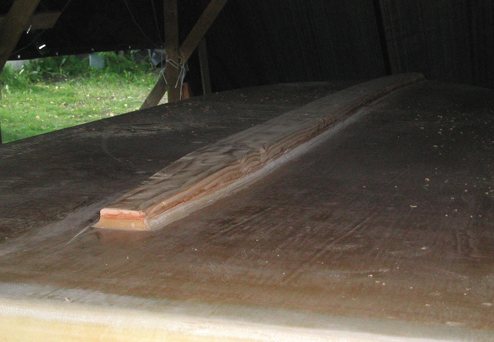
The front of the keel was molded to the shape and the flowing of the lines of the bow, using epoxy and wood flour mix. A rasp and sandpaper finished the shape.
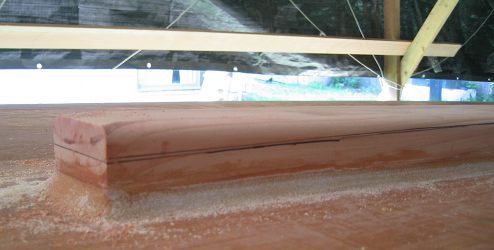
In addition to narrowing the back-end of the keel to improve the flow of water to the prop, it was tapered down (flattened) to just 3/4-inch above the hull using a belt sander.
The final shape of the keel just prior to applying a coat of epoxy.
|