| The Voyage of INTREPID | |
| "Portlights" | |||
|
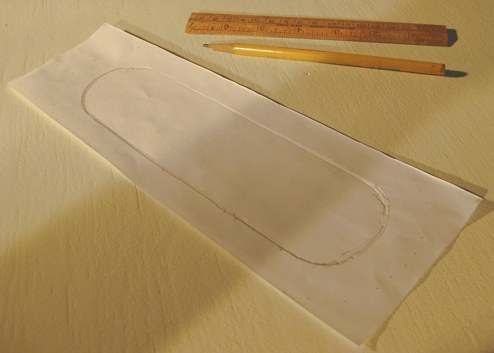
There were a number of ways that I could have added portlights (windows), but in the end I wanted something very simple and very cheap. Keep in mind that I absolutely abhor putting holes into the hull of my boat. These windows are to be non-opening. I cut a piece of paper to a size that would fit between the rub rail and the cabin top, ahead of bulkhead 11. I rounded each end, and then drew a duplicate pattern just one-inch smaller in all dimensions inside the original design. The plexiglass will be cut to the outside line, and each side of the boat where the windows will live will be cut to the inside line.
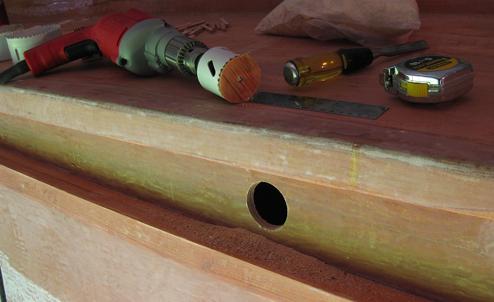
After the pattern for the window had been transferred to the sides, I took my hole-saw and cut a hole.
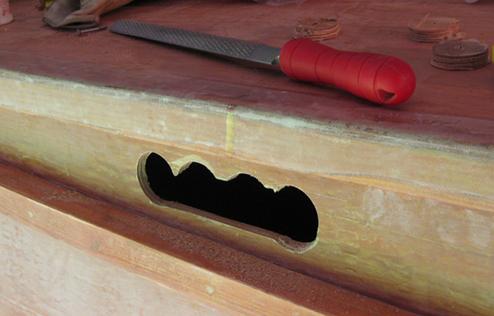
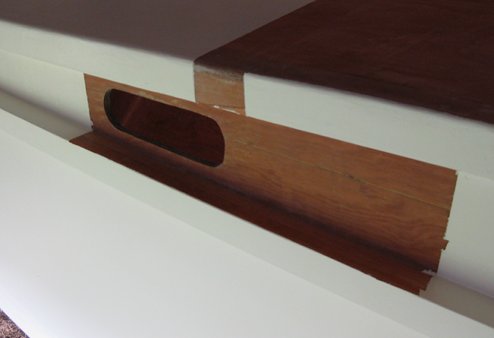
Three more holes later, and the basic outline of the portlight is revealed. The wood rasp took care of the projections of wood left over from the hole-saw cuts.
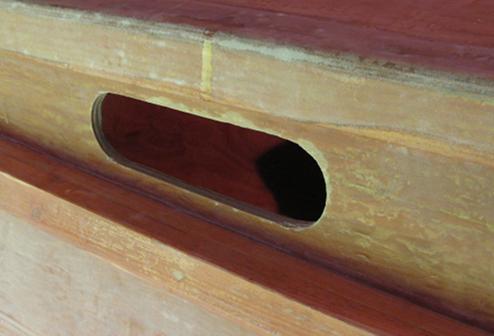
Nicely formed! The starboard side looks just like this side.
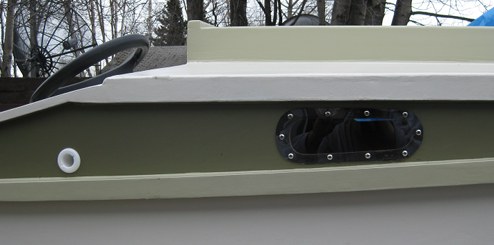
Two places that I left paint off the boat until the last minute: behind the portlights and the backend of the cabin top. I was still flirting with the idea of making the window able to open by sliding to the rear in some channels. I was also thinking about putting in a windshield, but I am glad that I never did. Experience shows that at my speeds, one is not necessary and would just be in the way (it would be good for blocking wind and rain at anchor, though).
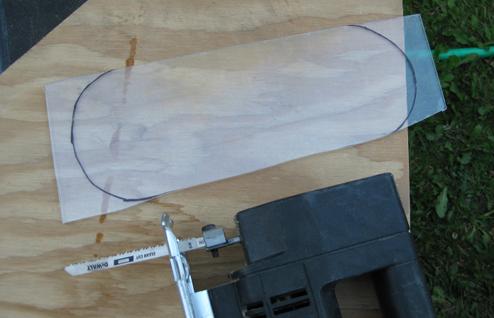
I transferred the outer line pattern to 1/8-inch Plexiglas. Was cut handily with an inexpensive variable speed saber saw.
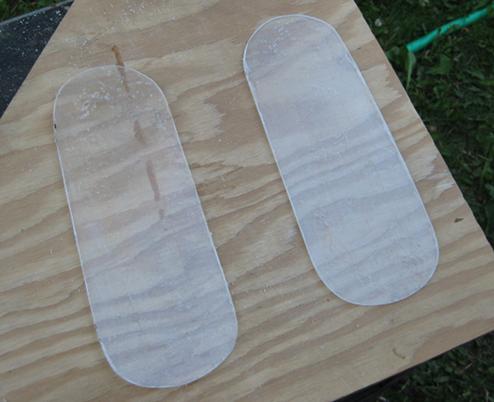
The cut-out Plexiglas pieces.
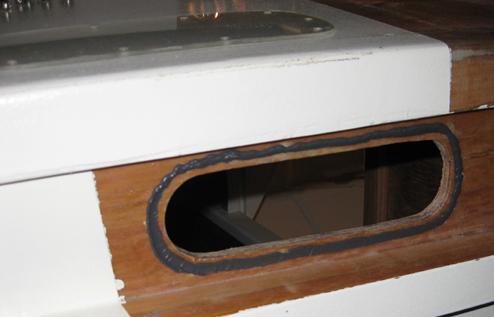
After drilling ten pilot holes for screws, I applied a good bead of Acrylic Latex Caulk, said to be waterproof, paintable, and flexible for 35 years. This caulk may even outlast me!
The Plexiglas is attached with ten half-inch stainless screws. Any squeezed-out caulk is promptly cleaned up.
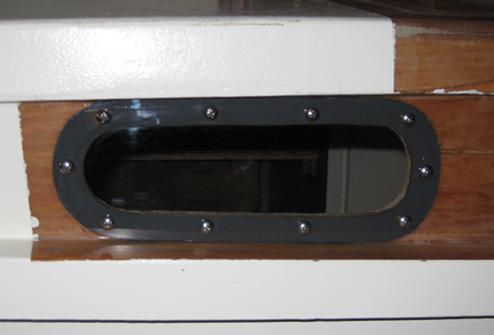
The completed portlight. After three seasons, there are several cracks in the Plexiglas around a few of the screws. I attribute that to expanding and shrinking due to the temperature extremes here in Alaska. What I could have done was to drill the screw holes in the Plexiglas a bit oversized and allowed the latex caulk to come through the holes up to the screw heads.
|