| The Voyage of INTREPID | |
| "Rear Deck Plate" | |||
|
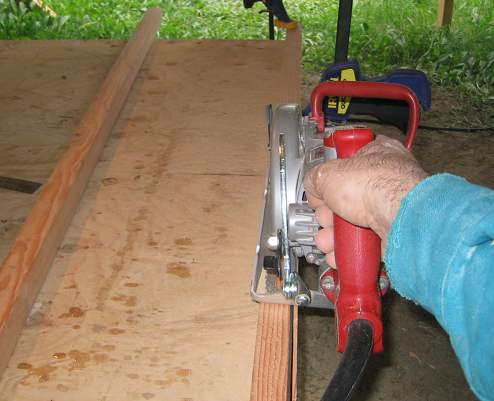
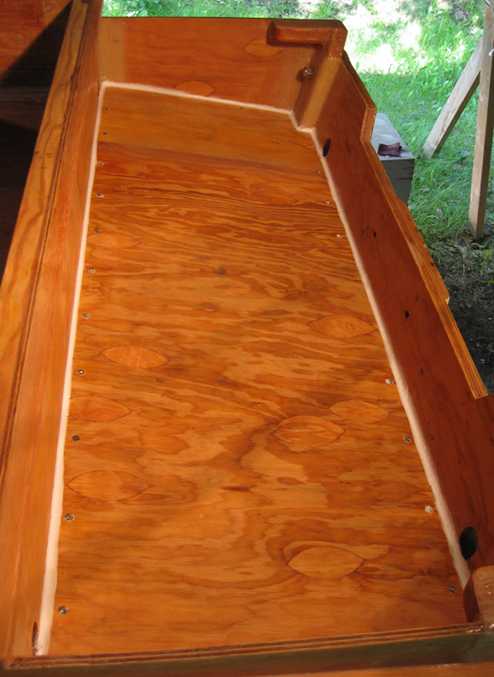
Before I could install a rear deck plate over the transom well, I had to frame out that well. I had to bevel the front and rear frame members so that the deck plate could sit flush. Notice the angle of the blade set on the circular saw.
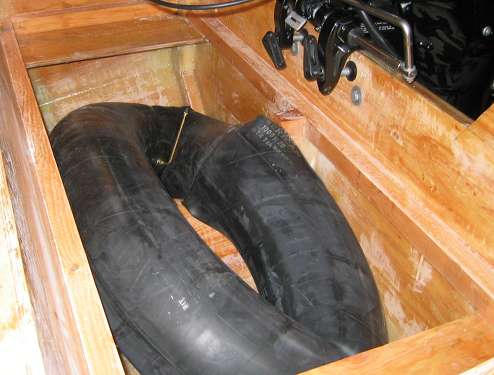
The transom well is framed out for the rear deck plate. Also, I knew I had to have floatation added to the transom well, but I also knew that I was not going to be using block foam. I was quickly running out of boating season that first year, so instead of the system I would ultimately develop, I just threw in a truck inner tube and closed everything up.
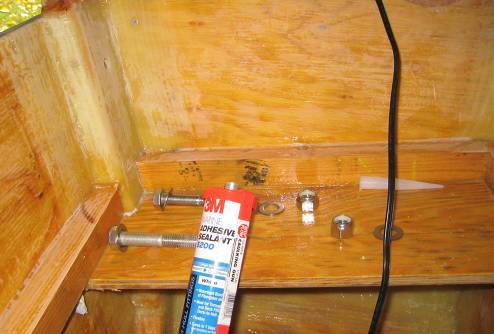
I want to bring your attention to the rectangular piece of plywood that the bolts are sitting on. In addition to stiffening up the rear sides of the boat, these braces help transfer the force from the outboard forward up through the corner braces in the cockpit to the side stiffeners. In other words, there is a continuity of reinforcement of the sides from the transom all the way up to the cabin. The 3M is for the bolts, not the rear deck plate.
I had also run out of large sheets of plywood to cut out the rear deck plate due to an earlier error on another piece that I had to recreate. Not a problem. I just joined two smaller pieces together with epoxy and fiberglass tape on each side of the join. I installed the rear deck plate with enough stainless screws to hold it down, and I sealed it up with a flexible caulking adhesive. Sea Trials went without incident in regards to the plate, but I knew that I would be changing things before I went out again the next summer.
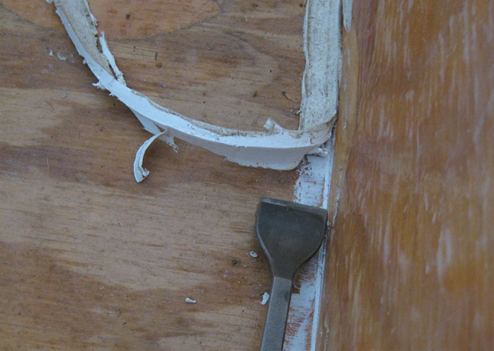
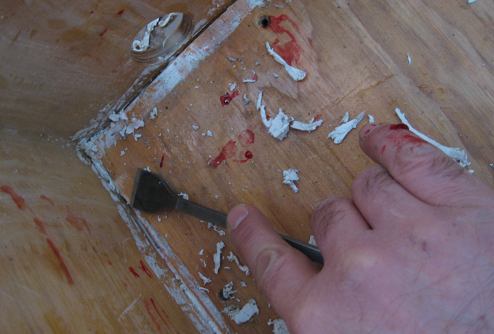
Next summer came, and I had to remove the deck plate to add two little pieces of support wood where the deck meets the transom. I also wanted to add more screws and properly bed the plate. First, I had to remove the old caulking with a gasket scraper. Boy was that a bear! This is some good stuff!
I know I have some sweat and tears into this boat; now it's time to add a little blood.
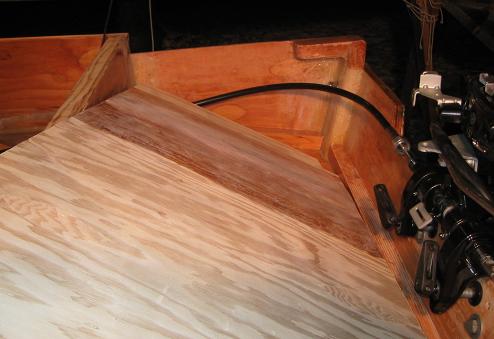
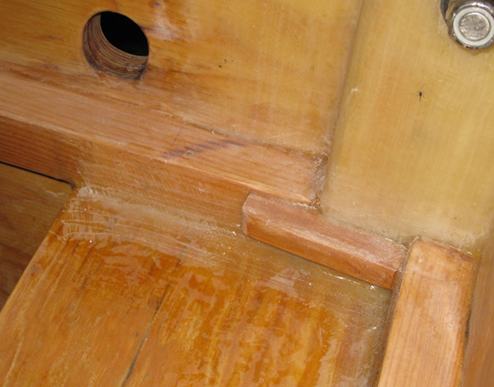
When I originally assembled the framing around the transom well, there was a gap on each side between the transom and the side frames. I added a little "bridge" piece of wood so that I would have a proper foundation to bed the rear deck plate upon. This deck frame bridge was just epoxy-glued, and is being held in place by another piece of wood with weights on top.
The port rear deck frame bridge is in place. Notice that once the rear deck is in place, it will be just even with the transom scuppers for good draining.
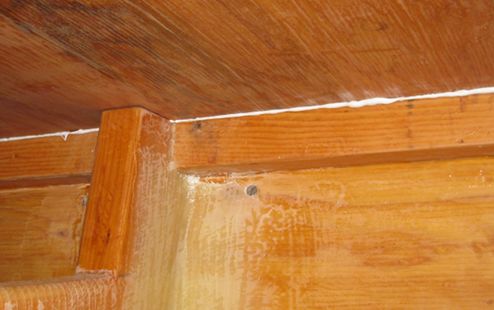
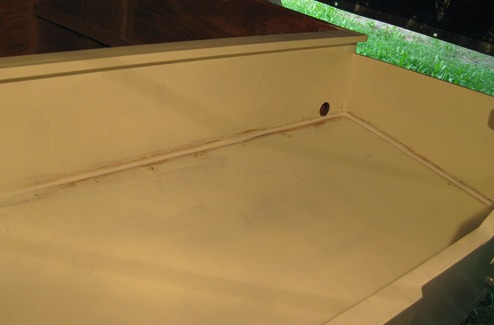
The re-bedded plate is screwed and caulked all around. I don't think there will ever be any leaks here.
The deck plate was made so that it could be removed if any kind of repair were ever needed. It is ready for painting now.
I put the first coat of paint on everything in the transom well area. This is when I learned that paint would not stick to the caulking. No big deal in itself, except that at the edges of the bead of caulk, the caulk thinned and became translucent. You could see the wood underneath, but you could not paint over it. Looked kind of amateurish. I spent half a day cutting and sanding away the thin parts of the caulk. The paint now does a fair job of covering the wood of the rear deck plate. Next time, I will use tape to mask the area where the caulk is to go.
|