| The Voyage of INTREPID | |
| "Rubrails" | |||
|
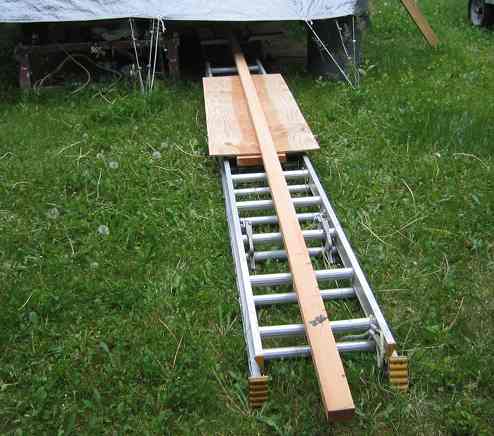
This boat has rub rails that run its full 18-foot length. I ended up making mine an inch and a half square in size. Now you can't bend lumber that size around the bend of this hull, so I planned to double up three quarter-inch thicknesses of stock. The longest decent pieces of wood I could find were of 12-foot Douglas Fir that I intended to rip down to size. I borrowed a Bosch portable table saw from my employer and set it up at the foot of my building table. The ladder setup you see here allows me to feed the pieces of wood to the saw at the right height.
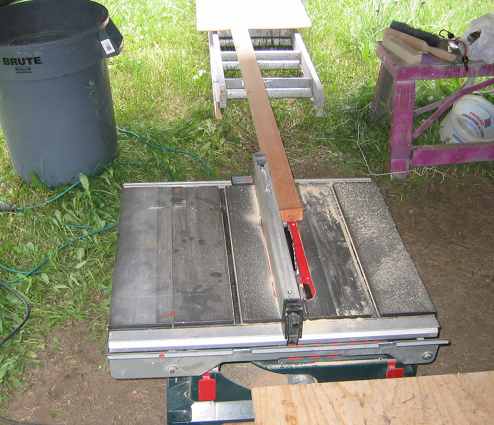
Ready for another 3/4-inch cut. Pulling the lumber in from the outside.
As I push the lumber through the saw, it comes to rest on the building table. I needed to make eight cuts, four pieces for each side since they were going to be doubled up. Look at the tight grain on that 2 by 4! I see now how a table saw will free me to rip any size lumber that I may need, and take only the best parts from what I cut. I am no longer constrained to the sizes and lengths that are offered by the lumber yard. I now look at wood for the forms that I can pull out of them; I don't know if I can adequately explain how liberating this feeling is. A table saw is a must have for any serious boat builder.
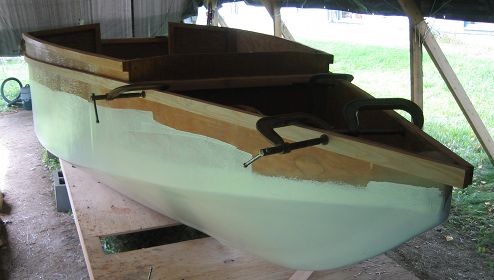
Beginning to attach the first layer of the rub rail near the bow.
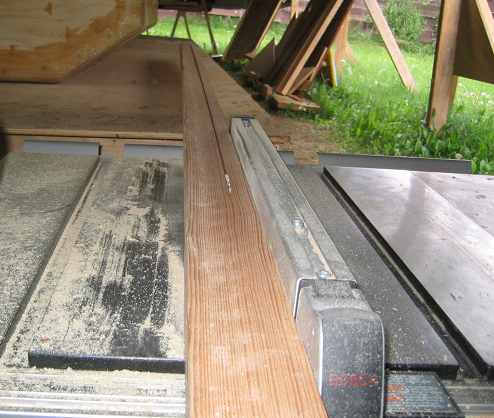
You can see how easily the 3/4-inch thickness bends to the shape of the hull.
Since I cut the strips from twelve-foot lumber, two piece would be needed to run the length of the boat. If I recall correctly, from the bow, I stared with a twelve-foot length mated to a 7-foot length. For the second layer, I reversed direction and started with a twelve-foot length in the rear, with the seven-foot length at the front of the boat. This was done to stagger the breaks in the rub rail. In hindsight, it would have been just as easy to join my lengths together using a scarf joint and epoxy. We'll do this for the next boat!
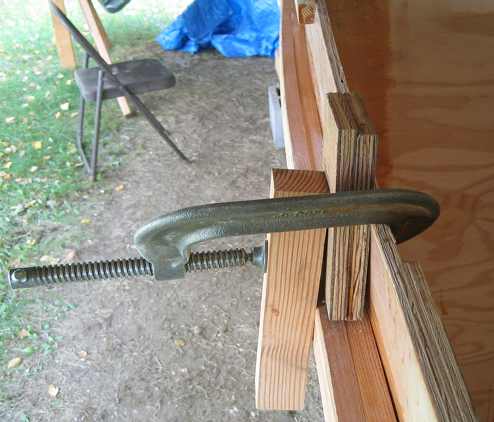
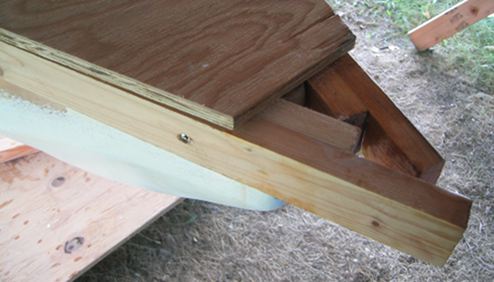
Here, I am dry-fitting the second layer using an improvised clamping method.
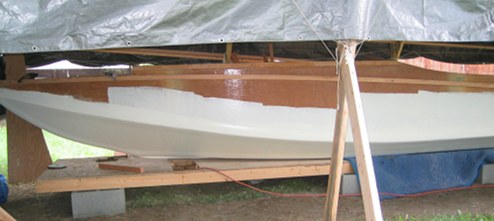
Sanded, with gaps and screw heads filled in with epoxy putty. Looks like a single chunk of wood now.
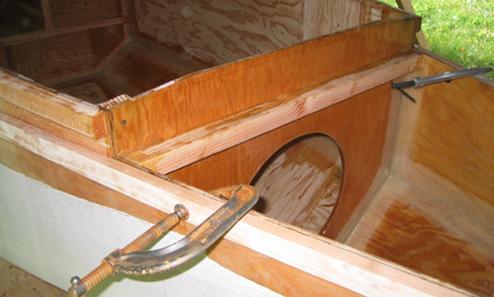
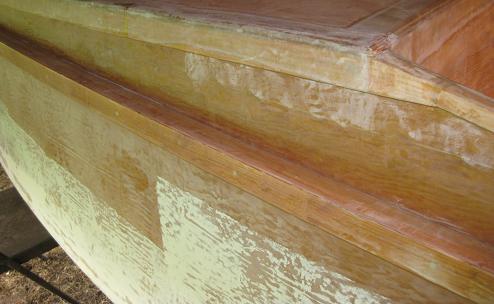
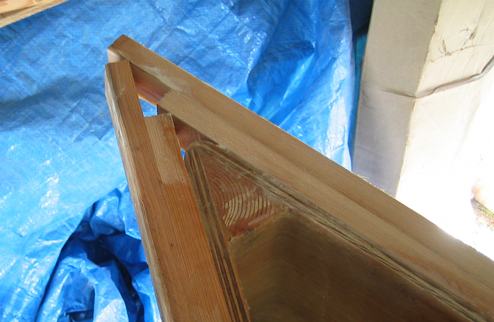
The second layer is glued and screwed in place. In this section of the bow, you can see the stem, sides of the boat, and rub rail all coming together.
With part of the bow-plate in place, I am trying to figure out what to do with those pieces of wood sticking out.
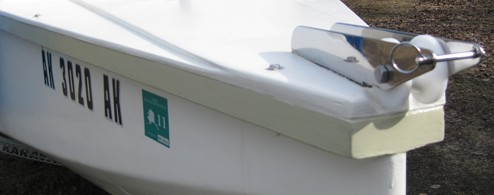
After some pondering, I just cut them off flush and filled what little gap there was left with an epoxy and wood flour mixture. I have stainless bolts as well as screws attaching the bow plate to the rub rails.
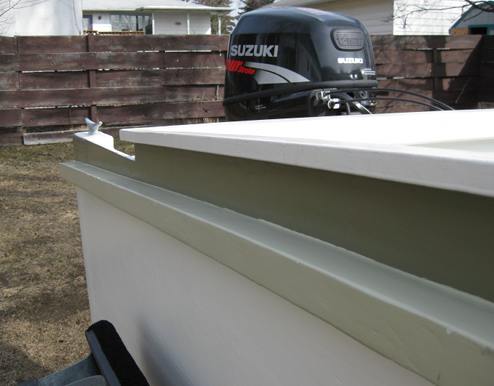
The run of the rub rails goes all the way to the stern, where it terminates alongside and at the top of the transom.
|