| The Voyage of INTREPID | |
| "Running Lights" | |||
|
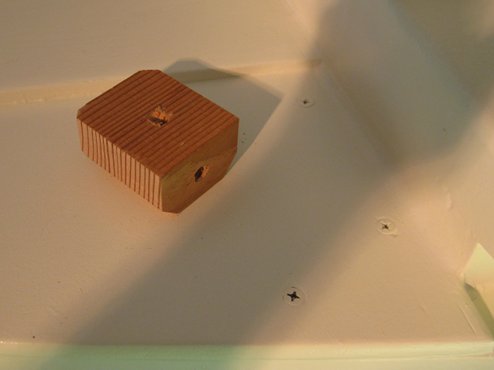
I originally wanted to use a single bi-directional navigation light mounted on the bow plate, except that my bow roller and anchor cleat were in the way there. This meant that I would have to use two lights, but where to put them? I am going to show you two methods I used to attach these, the first of which was well engineered, but still a bad idea. I purchased a set of Perko incandescent cabin side-mount navigation lights. I originally wanted to mount them on the cabin sides just above the rub rails, but it turned out that there was not enough room for them there. I then decided to mount them to blocks, which would then in turn be mounted to the rear section of the bow plate. After sizing and shaping the blocks, I drilled two converging holes to allow passage of the light's wiring.
The bow plate was cleared of paint at the mounting location. Three holes were drilled, one for the wiring and two for the screws that would hold down the mounting block.
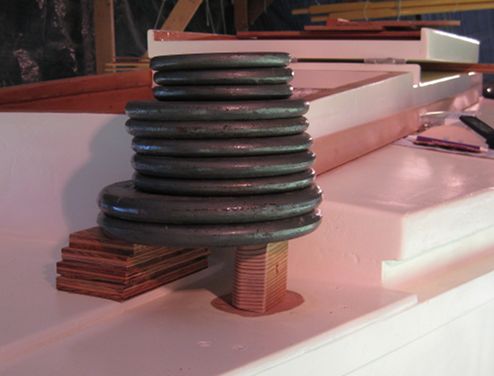
I drilled up through the bow plate into the block. The weights are there to make sure the block did not move when the screws were put in. Unfortunately, the mounting block split horizontally near the top of the block as the screws were put in.
To compensate, I removed the screws and drilled straight through the block so that bolts could be used. The cleaned up block is now 3/4-inch shorter.
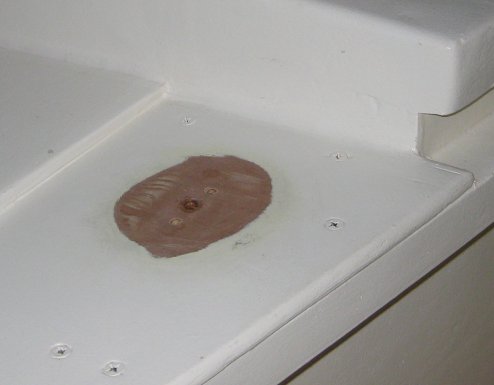
The port light was installed and the starboard light was about to be, and... I did not like how things were shaping up. I removed the mounting blocks, filled in the holes with thickened epoxy, and repainted the sanded areas of the bow deck. Good as new.
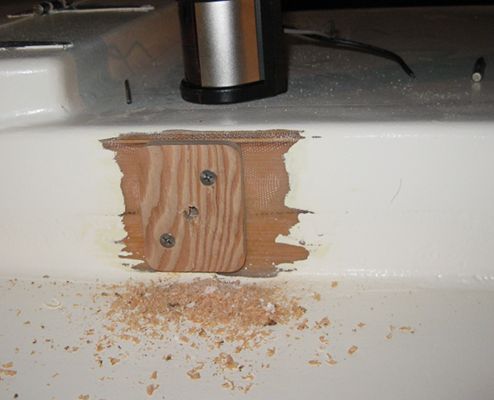
For my second attempt, I decided to mount the lights to the cabin roof beams. The hatch was sticking out too far, though, partially blocking the lights. I added an extender block so the lights would clear the hatch. A hole is drilled through the block and roof beam into the cabin for the wiring.
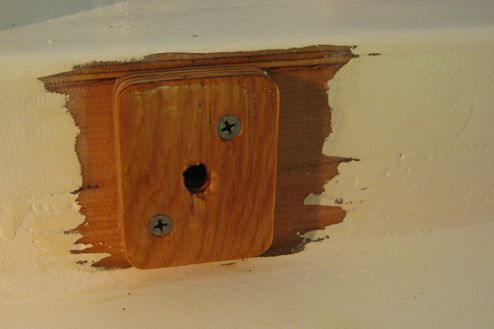
The extender block is sealed with epoxy and then painted white to match the rest of the boat.
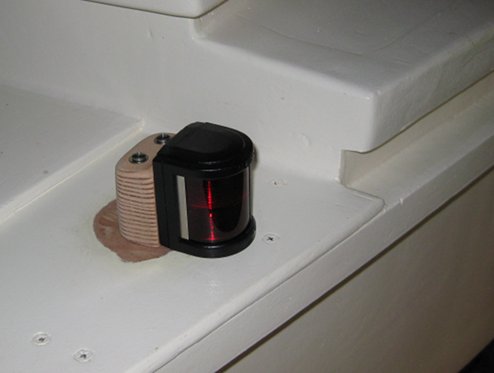
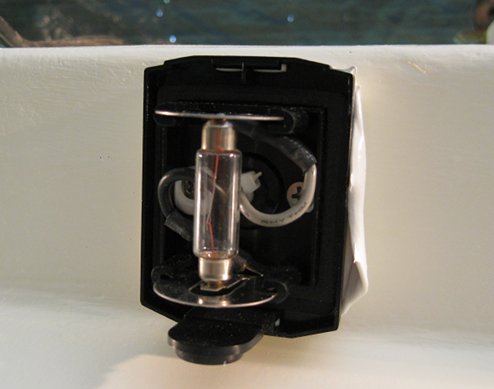
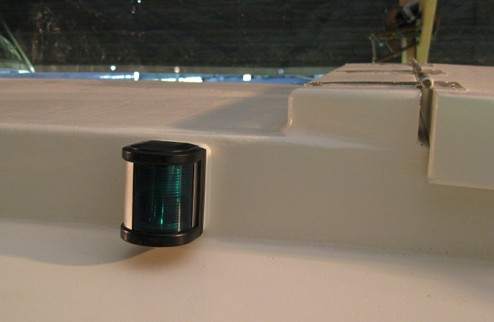
The light (lens cap is off) is bedded in sealant, and screwed to the extender block with stainless screws.
The completed position light on the starboard side. Needless to say, after an initial bout of frustration, I am quite happy with the second method I came up with.
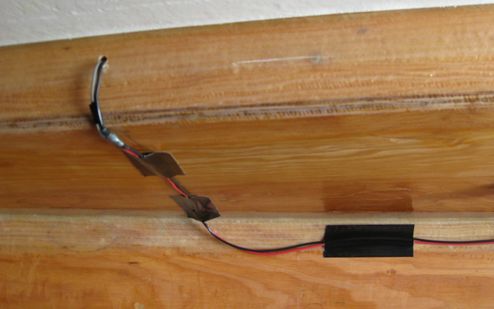
Inside the cabin, a less than elegant method of routing the wires from the light up to its switch. That's not ordinary duct tape there - Gorilla tape!
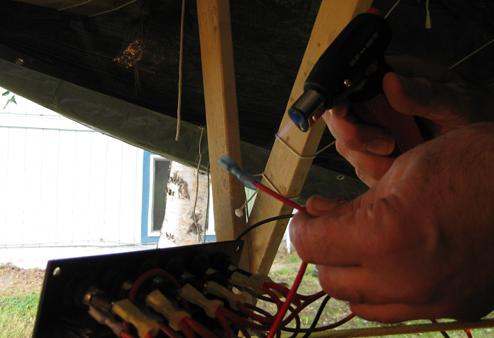
Attaching an Ancor Marine heat-shrink disconnect to the positive wire going to the position light switch.
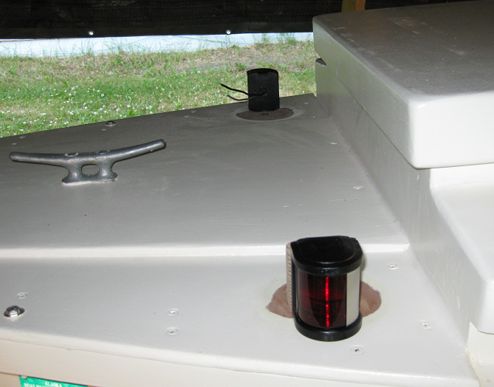
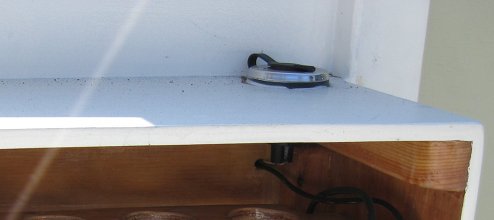
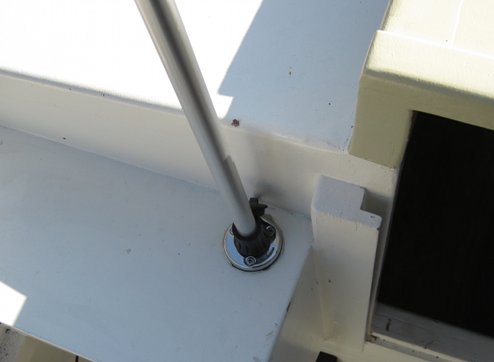
Another Perko component, this is the base assembly for my all-around light. It is mounted through the top of the port shelf
The all-around light installed. This is a Perko LED adjustable light visible for up to two miles. It is wired separately from the other nav-lights so that I can keep it on overnight while I am anchored. I chose the LED version for its low power consumption. I would have gone LED on the other two lights, but they were too expensive for the amount of use they would get.
|