| The Voyage of INTREPID | |
| "Steering" | |||
|
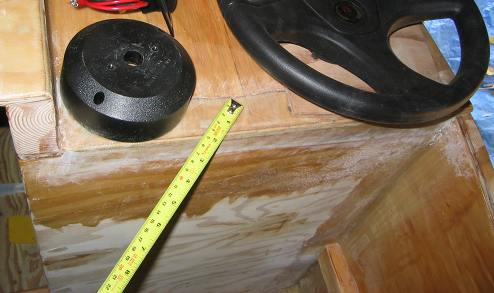
Nothing gives you that big boat feeling better than having a dedicated helm station. I am usually seated when I am operating the boat off plane. But when I get up on step, I am usually standing right in front of the companion way, with my left hand for the boat, my right hand on the steering wheel, and the engine's emergency cut off switch clipped to my pants. All the while the wind is racing through my hair. Seriously though, this boat is better balanced when the operator's weight is in the center of the boat. This Dorado B also has a slightly higher cabin profile than the original, so I ruled out tiller steering right from the beginning. Traditionally helm stations are placed to starboard on a boat, so I will keep to that convention. Looking down at the naked bulkhead, where to begin?
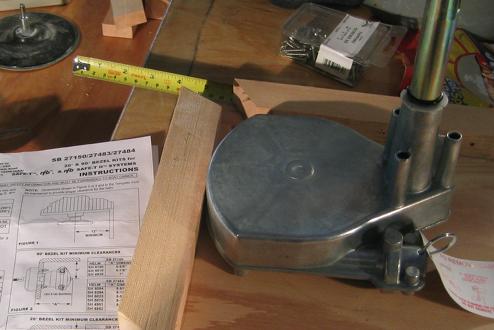
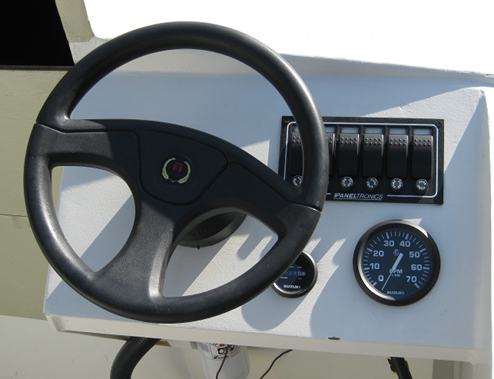
I decided to create a dash to mount the steering unit. I am using a Teleflex Saf-T 2 Rotary steering gear. Lining it up on the underside of the dash to determine clearance before drilling the mounting hole.
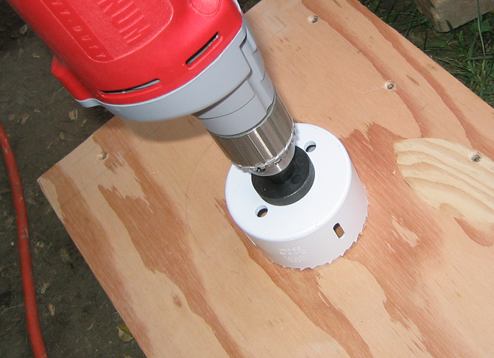
Drilling the hole to the right size with a hole saw.
The hole is cut out. You can see the wood from the cutout still in the hole saw.
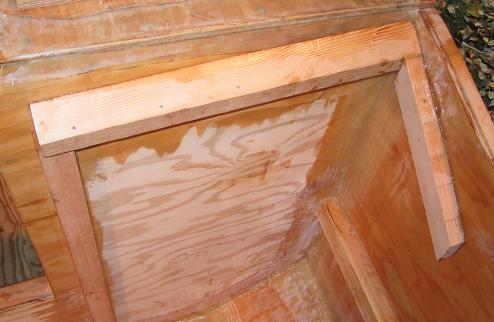
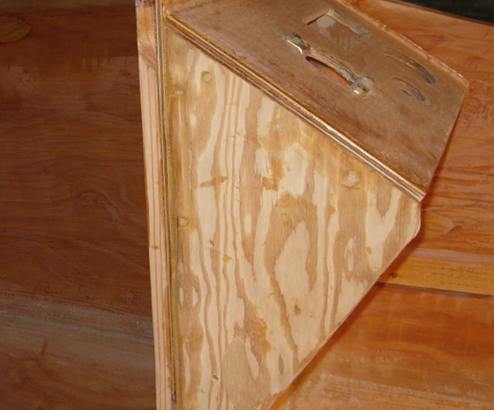
The dash will be framed on three sides, but open to the front.
Attaching the mounting hardware to the rotary steering unit.
Temporarily fitting the dash and the steering assembly in place.
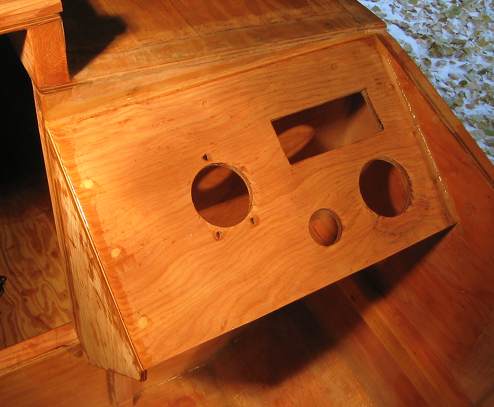
The third side support is installed. I did not extend it to the cockpit sole because I wanted a clear area at foot level.
The completed helm station prior to sanding, epoxy coating, and painting.
The helm station with the steering gear installed. I also installed switches for the navigation lights and bilge pump, a Hobbs meter, and a tachometer.
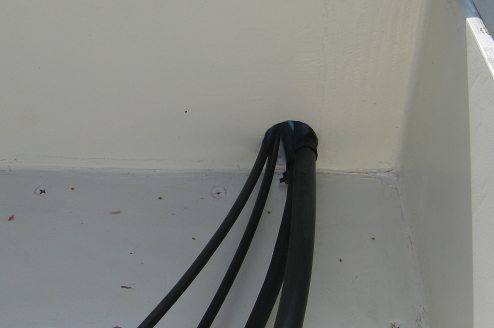
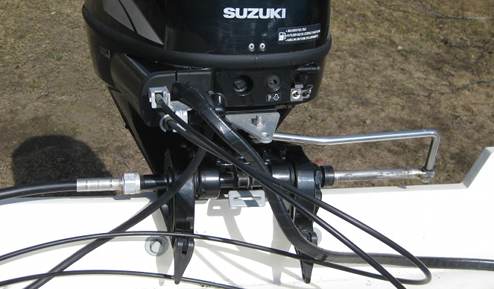
The steering package comes with a push/pull type cable that is what actually turns your outboard. However, the installer has to measure the distance from the rotary steering gear to the connection point on the outboard, including all bends and turns, and request a cable of the measured length. Here, the steering cable is the larger of those cables passing through bulkhead 17 from the cockpit over the transom well to the outboard.
The steering cable housing is attached to front left of the outboard. The cable itself terminates with a solid metal rod that half contained in the outboard mount, and half outside. It is connected to the "L-shaped" bracket which is in turn attached to a pivot point on the outboard. This is a very simple, solid, and secure method for steering a boat.
|