| The Voyage of INTREPID | |
| "Trailer" | |||
|
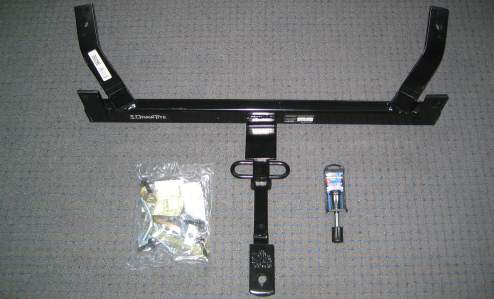
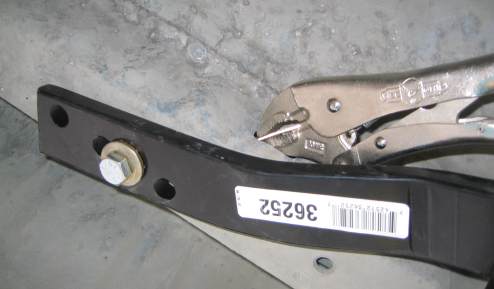
I have already picked out a trailer, one with an overall width that will fit into my back yard. The dealer has agreed to hold it for me until after the first week of May when most of the snow ought to be melted out of my back yard. The 36-pound hunk of metal you see below is the trailer hitch I will be mounting underneath the back end of my Ford Taurus. It is a class two receiver hitch rated for 3500-pounds. The bag at the left is full of nuts and bolts. The thing on the right is actually a locking hitch pin that locks the receiver (the long thing with a hole in it at the bottom) to the hitch. Just keeps the honest people honest. I still have to get a 2-inch ball, and another lock to lock the coupler to the receiver.
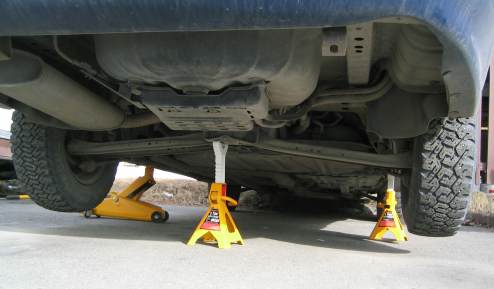
Safety first. I used two jack stands and a hydraulic floor jack to raise the rear of the car. Finally a nice, warm day to be working under the car. The hitch mounts with only 4 bolts. The directions say installation time is 20 minutes. You may notice that I still have my studded snow tires on.
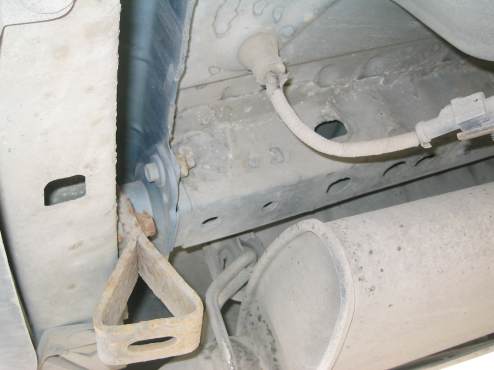
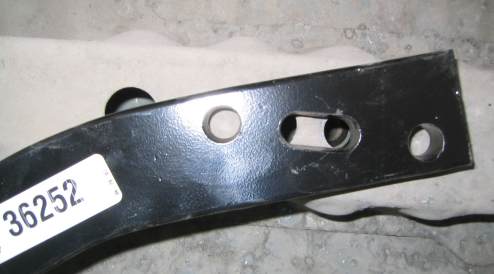
The left side of the hitch gets attached to the end of the frame rail. The bolt facing to the right has to be removed and replaced with a longer one. The forward mounting position is through one of those slots you see on the rail.
There is not room to fit a ratchet and socket to the bolt that has to be removed, let alone a torque wrench later in the installation. I will use an open end wrench. I will also remove the vehicle tie down connector to make room.
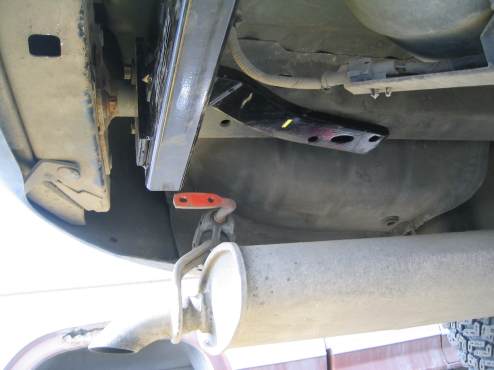
I removed the vehicle tie down connectors, but reinstalled the bolts as they also hold the bumper on. I trial fit the hitch; plenty of room for the M10 bolts. However, I found that the muffler was in the way of the forward mounting bolt on the left side of the vehicle.
Now were cookin. The muffler is held up by two suspension brackets at each end, two bolts each. I removed each set, lowered the muffler and tail pipe a bit, and now have plenty of room.
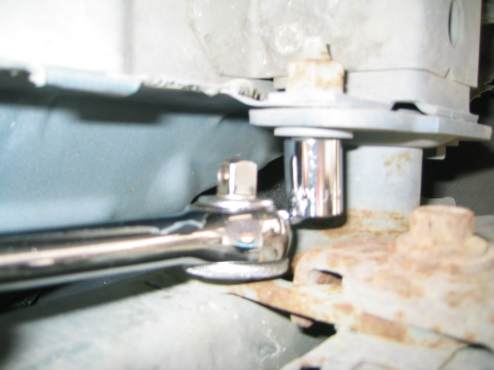
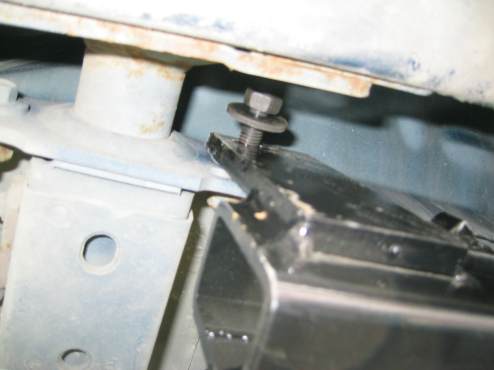
I turned my attention to the front mounting point and found that the holes in the hitch do not line up with frame rail it is supposed to bolt up to. I loosened the back bolts and slid the hitch back a bit to reveal that left hole you see in the oval. I figured that if I could get the front bolt in here, I would just tighten everything up and scrunch things together....
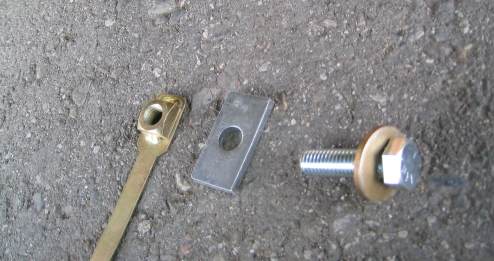
This is the front bolt set up. The silver blank fits through a slot in the side of the frame rail, and gets positioned over a selected hole at the bottom of the rail. The bolt with the washer goes into the blank through a hole in the bottom of the frame rail, and screws into the gold nut with the handle welded on. The gold nut is supposed to also get into the frame rail through the side slot, maneuvered over the blank with the attached handle. The handle is a soft metal so it is flexible and can be bent to position the nut.
I had successfully gotten the bolt screwed into the nut and started to tighten the bolt. Unfortunately, the nut slipped and the flexible handle began to wrap around in circles inside the frame rail. I turned the bolt in the opposite direction and managed to get the handle back out of the slot. I then used a vise grip clamping wrench to hold the handle while I re tightened the bolt. I then used a torque wrench and tightened the bolt to 50 foot-pounds.
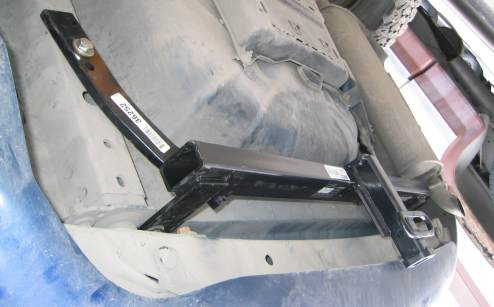
The hitch is successfully mounted to the underside of my vehicle. I tightened all four bolts and everything pulled together nicely. I reattached the muffler brackets.
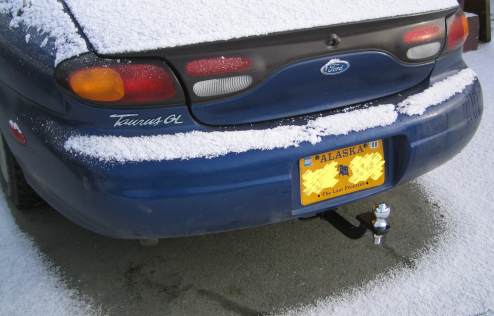
A ball is mounted to the receiver in the hitch, installation complete. You notice that it has snowed again.
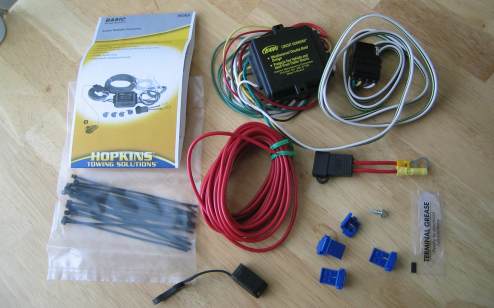
Not quite done yet. My car has no factory installed provision for hooking up the lights to the trailer, so I bought this kit from Hopkins Towing Solutions to address that problem. I first thought that, at $75, I was being over charged for the kit. However, I quickly realized that someone took some time to think through what an installer would actually need to hook up the kit -- I was impressed. Let's see...we have enough zip ties to attach the red wire from the trunk to the front of the car where the battery is. The black control module has markings labeling all the wires coming out of it. One of those wires (for a signal light) has an extra 4-feet of length to it in case you have to mount the module on one side of the car and connect to a signal light on the opposite side. There's a package of terminal grease to prevent corrosion on exposed wires, and the blue press-in connecters came pre loaded with the grease. The battery connector pigtail has a 20 amp fuse built in. The wire connector to the trailer even has a cap to protect it from the environment. The little screw you see there is to connect the ground wire to the frame of the car.
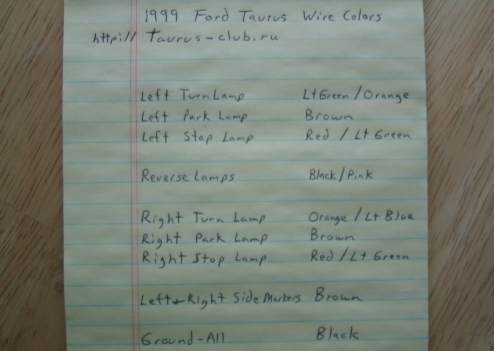
While the installation directions with the kit are adequate, I decided to search the internet to see if I could find a wiring guide to my 1997 Ford Taurus. I came across "http://taurus-club.ru", and downloaded a PDF file with complete wiring diagrams for everything on or in my car. I copied the information that I needed for connecting the kit. Did you notice that the .ru means that this material came from a Russian web site?
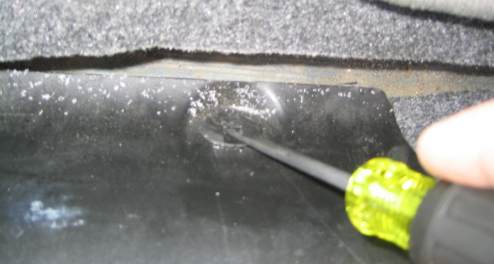
Taking off the trim in the trunk to expose the tail light wires.
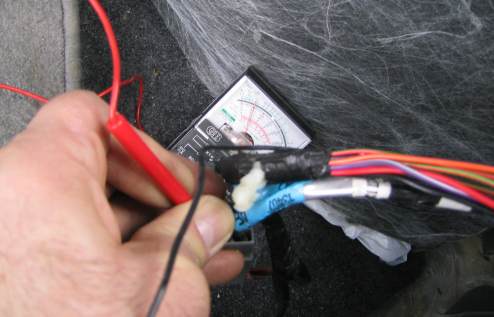
I am testing the accuracy of the wiring guide with a voltmeter. All of the colors match the functions.
I placed the brown wire for the parking lights into the side of the blue connector and snapped the side of the connector closed. The brown pigtail from the controller was then inserted into one end of the connector. I used a pair of pliers to crimp down on a raised piece of metal that will connect both wires together before closing the top of the blue connector. I repeated this procedure three more times to accommodate the other necessary wires. I used a couple of zip ties to fasten the controller to the wiring harness in the back of the trunk.
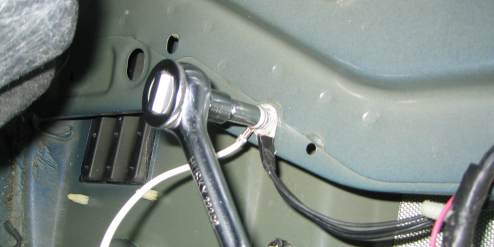
Instead of drilling a hole and using the screw that came with the kit to attach the white ground wire, I found that I could use an existing grounding location on the right side of the car.
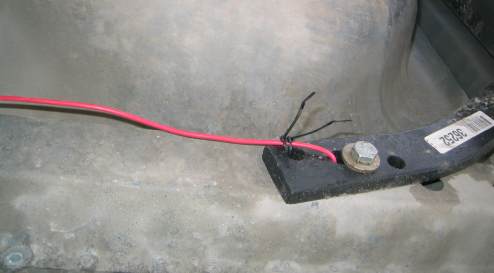
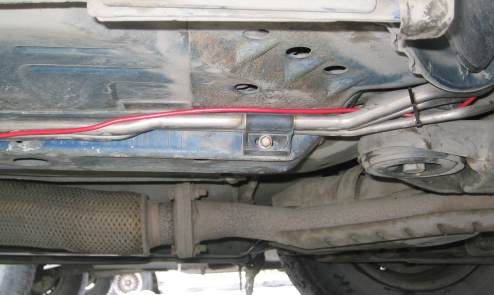
Snaking the power wire through bottom of trunk, and through the frame rail that the hitch is attached to. From here all the way up to the battery, I will use zip ties to attach the wire to the bottom of the car.
Leading the power wire up into the engine compartment.
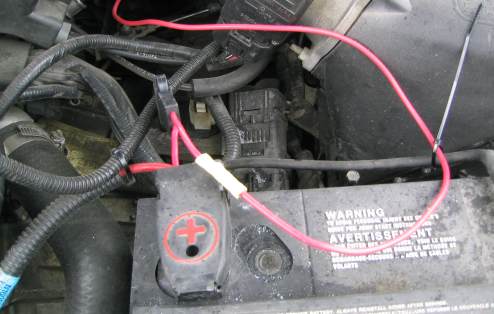
Connecting the pig tail and the power wire to the battery. The power wire uses a crimp connection to the pigtail; the pigtail is bolted to the battery terminal. I believe I am done...with this part. Let's go pick up a boat trailer.
Paid off the balance; got to pick up the trailer. The salesman showed me how to "cross the chains" and "lube the bearings." This trailer has a very long tongue. The lights even work.
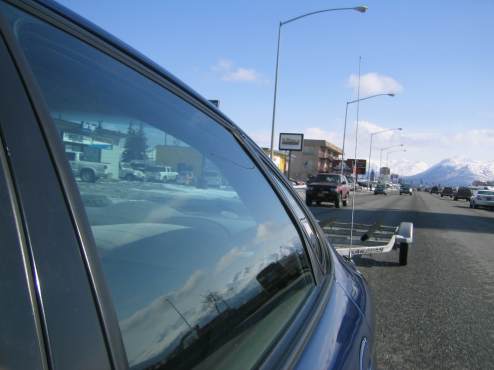
Towing the trailer down 5th Avenue, Anchorage, Alaska, USA.
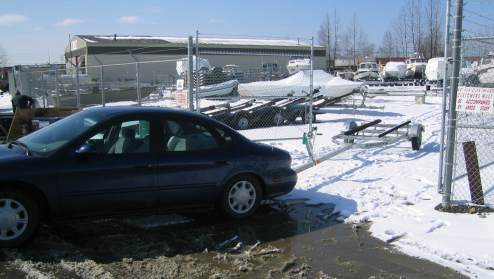
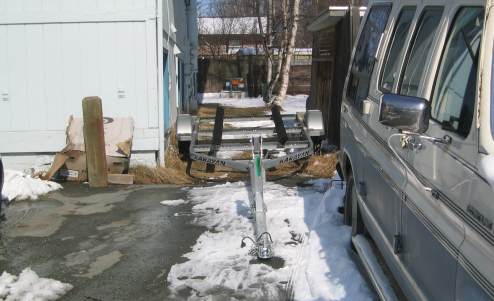
There is plenty of room to fit the trailer into the back yard.
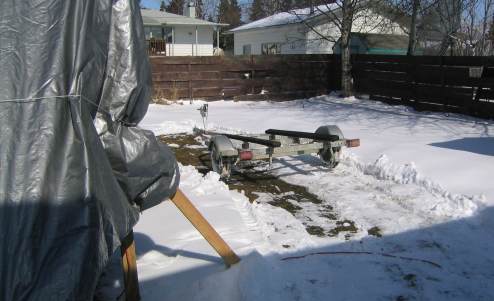
The trailer is parked in my back yard. I realize now that there is no chance that I will be able to pull both the boat and trailer out of the yard by hand whenever I want to go boating. The trailer weighs 325-pounds just by itself. I will have to make some kind of tractor device to pull the laden thing out. My downstairs neighbor has already offered to tow it out with his motorcycle. I'll post a picture if I go that route. Really.
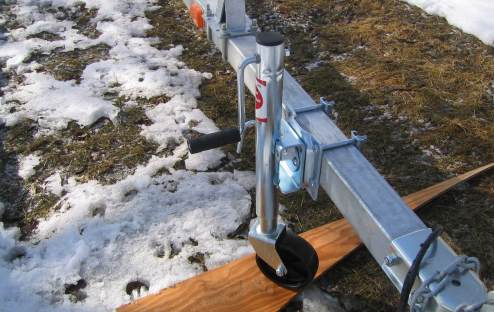
One last step. The trailer did not come with a tongue jack , so I picked one up at a hardware store and mounted it. Project complete, except for the getting it out of the backyard thing. My epoxy and fiberglass has just arrived from Florida, but my 50 degree temperatures for working with it has not. That's OK, there are still a hundred other projects I can be working on. It has just dawned on me that building a boat, even a small one like mine, is really a series of projects tied together toward a common end. Sometimes you must complete one project before starting the next, at other times you can have multiple projects running simultaneously because they are independent of one another. And, I must admit, over the length of time it takes to build a boat, other life events and interests can compete with the time needed to build a boat. And with the alleged recession working its way up from the lower 48, I sometimes question the wisdom of building a boat at all. But I have this picture of a boat as a background image on my computer at work--never fails to bring a smile to my face when I look at it. And when I look out into that darn warehouse I work in and then back to the picture, I know where I want to be this summer--build on!
|